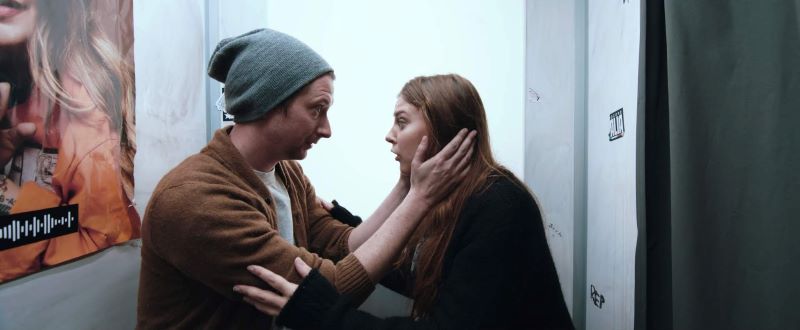
Final Result

Introduction
This blog will be a little less on the cinematography-side than my other posts, but it is still relevant for anybody interested in cinematography. This time I will tell you about how we constructed the set for the film - Image.
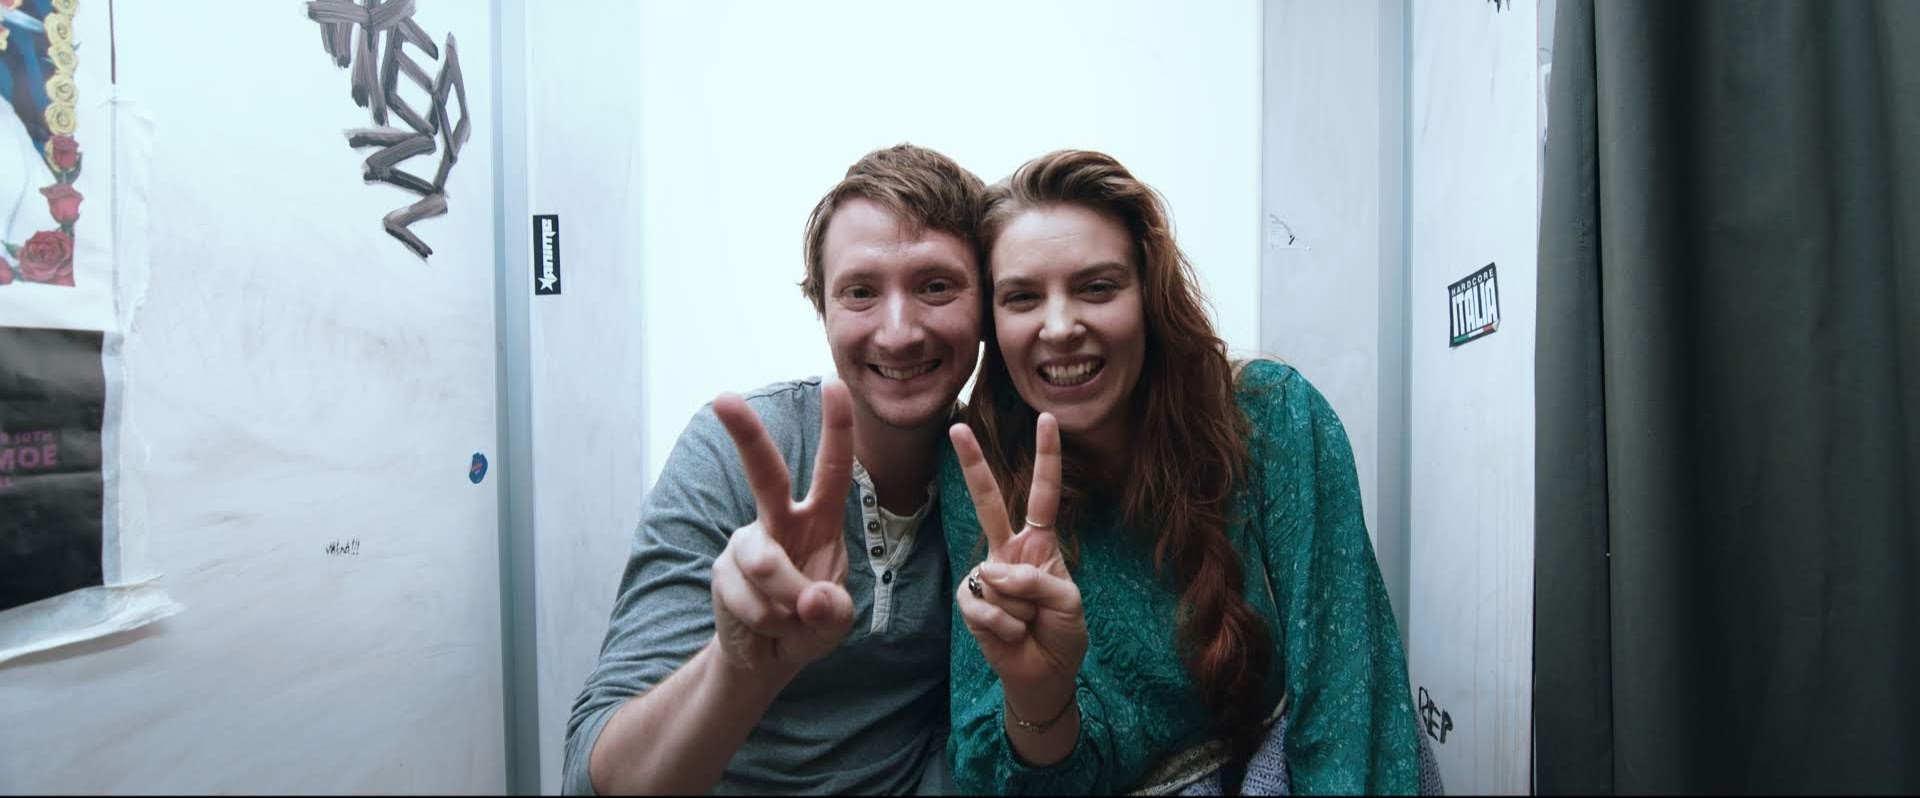
Last year I shot a short about two people who stumble into each other in a photo booth and end up changing each others’ lives. The concept of the film is that it all takes place in the photo booth and it is all shot from the perspective of the camera in the photo booth. A bold move by director Petter Sjöstrand to have long takes with no camera movement or cutting at all in a time where films tend to move towards more movement and faster paced editing.
The Build
As anybody who has worked on a film shoot knows, a controlled environment is very beneficial. This is why we can’t just go out to a real photo booth and shoot the film there, there would be noise, risk of people entering frame in the middle of a scene, hard to control the lighting etc..
Therefore we knew we had to do this in a studio. This “studio” ended up being a room in the basement of an apartment complex. Not a real studio - but big enough for us to fit a fake photo booth and shoot the short without disruption.
Now that we had a place to shoot we had to figure out exactly what we had to get out of this photo booth, since we’re building it ourselves from scratch we can do whatever we want with it.
We needed the photo booth to:
- Look like a real photo booth
- have room for two people next to each other
- easy entry and exit
- space for camera and audio
- big enough to fit both actors into frame without using an 8mm lens
With these requirements in hand we started to plan the dimensions of the booth and the height of the chair to begin with.
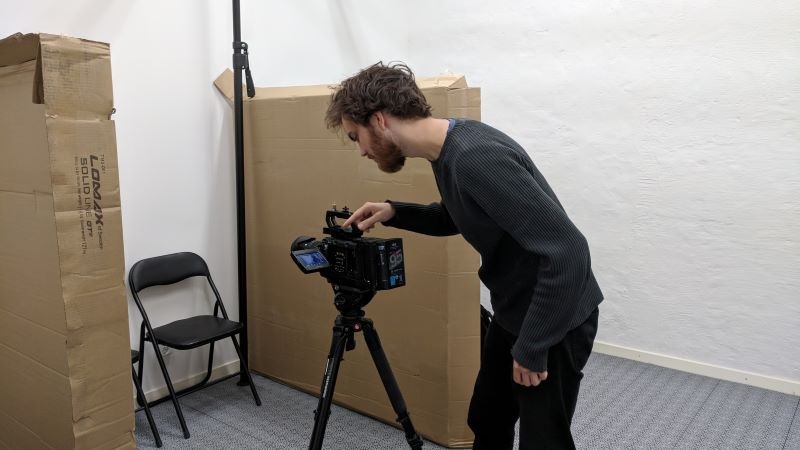

This was our first prototype of the booth, cardboard and two fold out chairs. We started out with placing the chairs and the camera to work out the framing of the characters. We ended up using something around 14mm with a tokina 11-16mm lens.
After we had figured out the distance between the camera and the chairs, we used the cardboard cartons to find how wide we wanted the walls to be. We wanted it to be wide enough to fit both actors but still narrow enough to feel as if we were in a small photo booth where it gets crowded if you are two people.
Our method was simply just to have two people sitting in the chairs and then looking through the viewfinder what width we felt was good and then wrote those dimensions down.
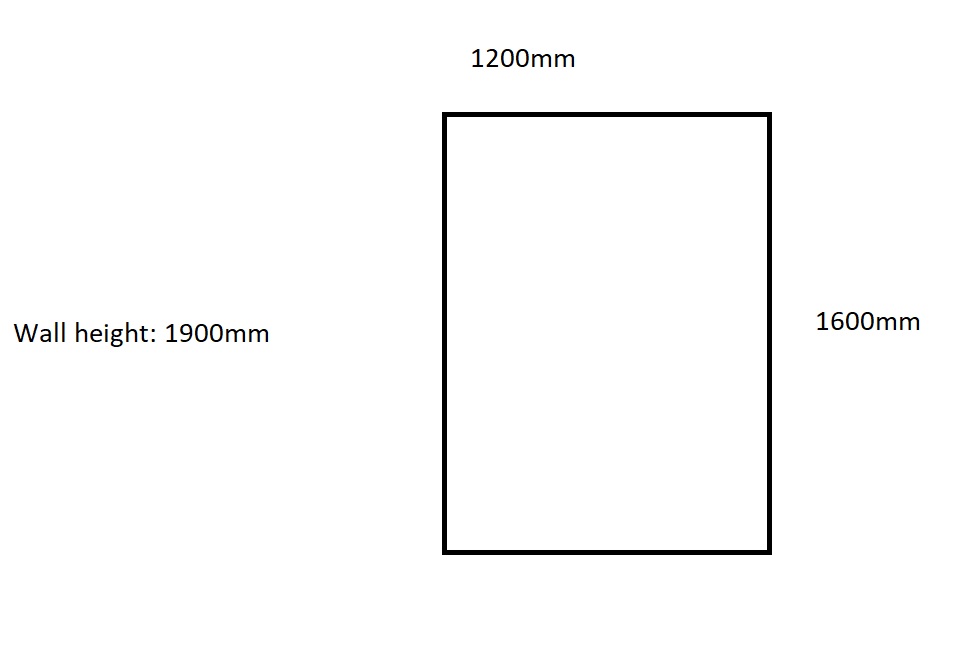
We ended up with 120cm*160cm and measured out 190cm height of the walls, since we’re not showing the roof we didn’t have to build it. We didn’t build the wall where the camera was placed either, this was because of several reasons -
For one thing the sound would be better if we could place soft materials like blankets there instead of building a wall which would just have the sound reverbing around. Secondly I figured it would be easier to control the light if we didn’t have a solid wall,I could use black cloth if I wanted it to be darker and white cloth if I wanted it to be brighter.
Now that we knew the dimensions of the build, all we had to work out was the details.
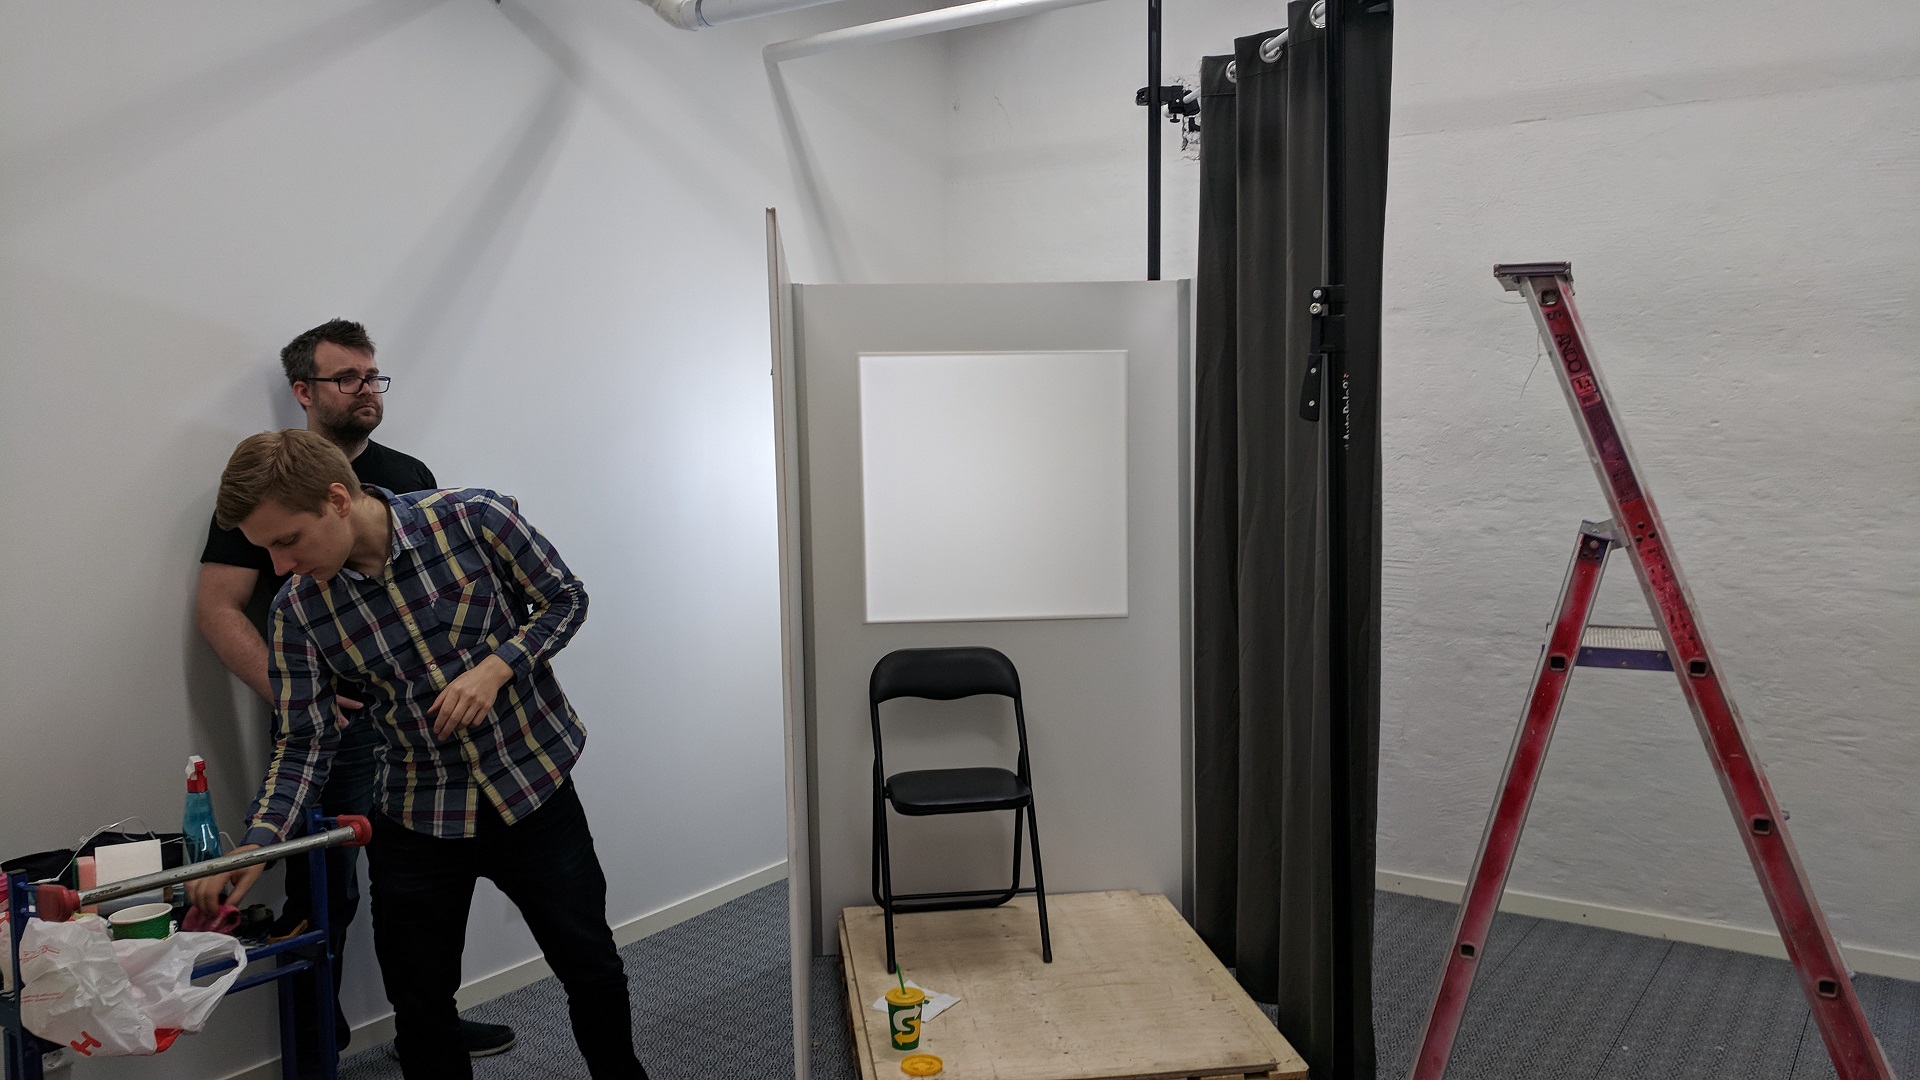
When we looked at real photo booths we found that many of them had a screen behind them that lit up when the photos were taken in order to get a white background. We made a 70x70cm acrylic glass area on the wall behind our actors and put a big led light about a meter away from it in order to achieve this effect.

You can also see that we used metallic details on the corner of the booth. This really helps to sell the look I think.
The Booth
Here you can see the booth in all its glory:
And this is what it looks like with through the camera with actors in the shot:
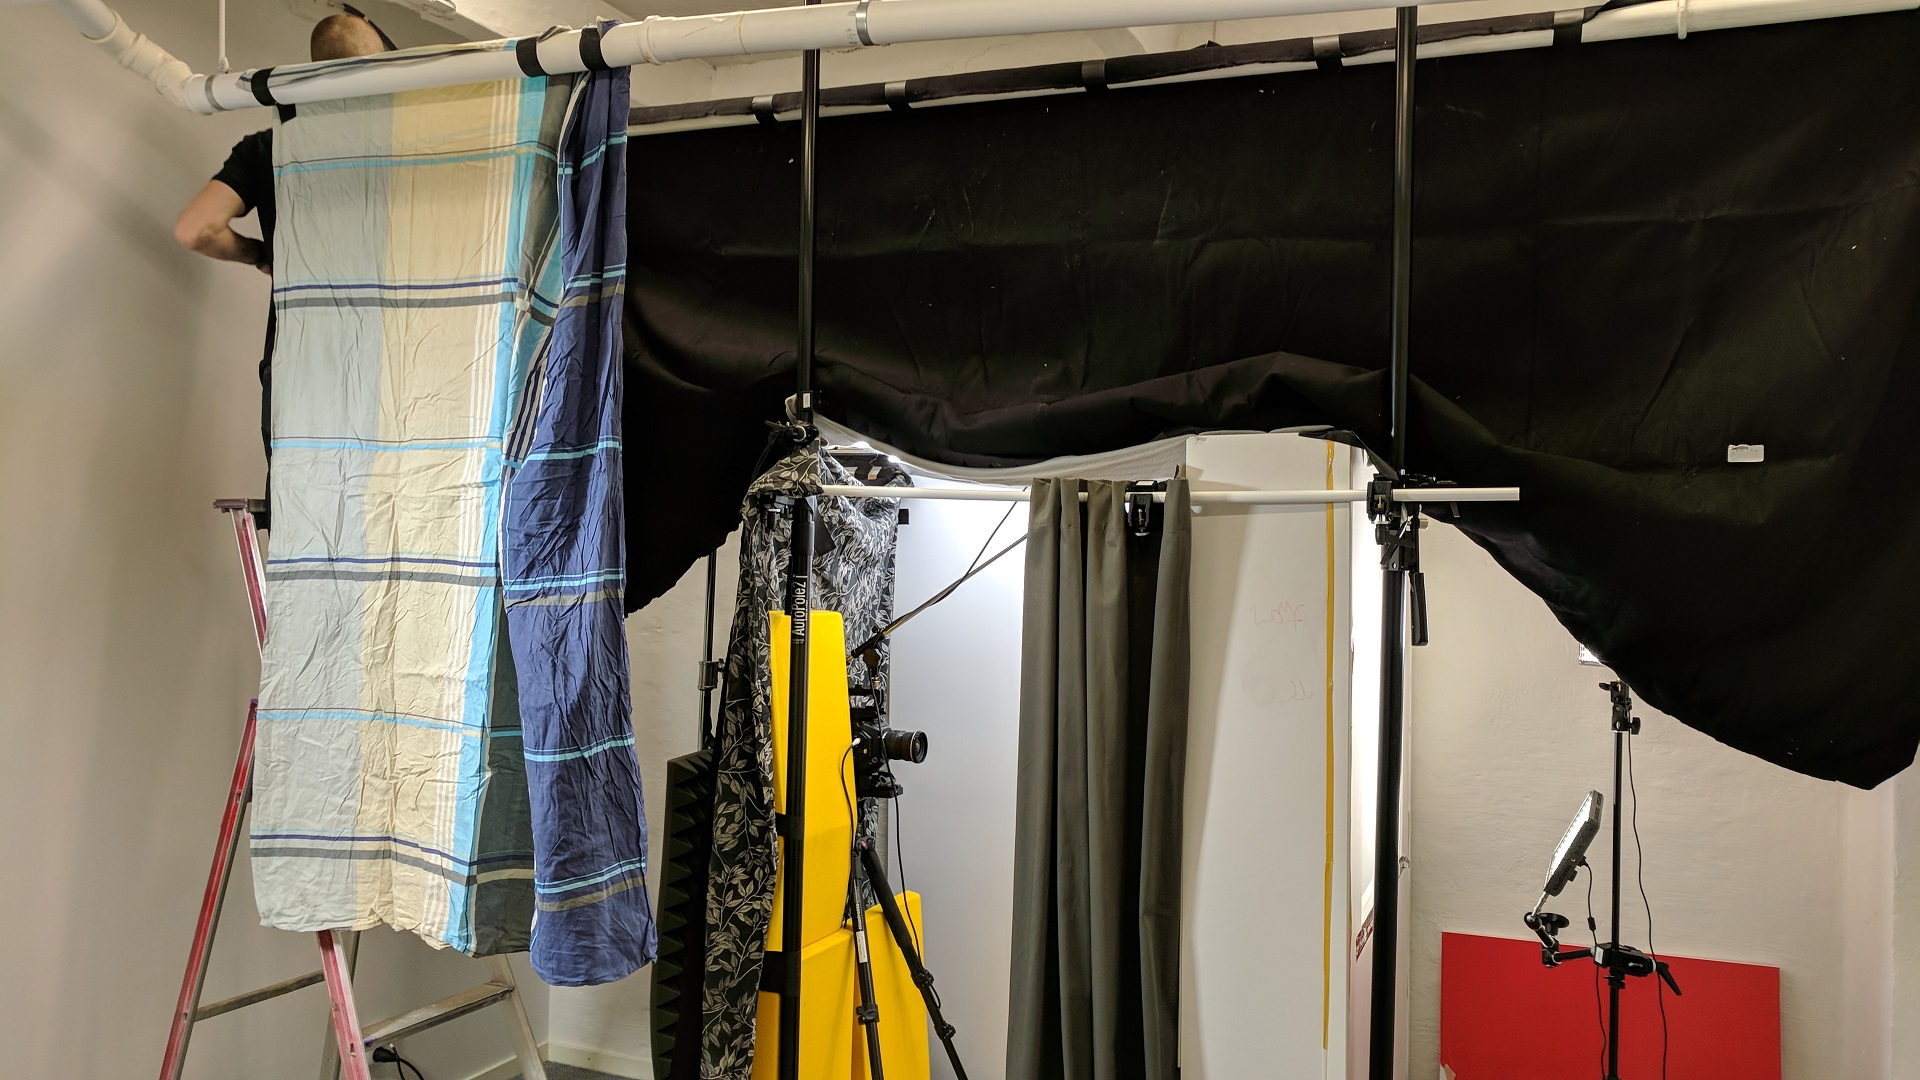
This is how it looked like from the outside. All the blankets are for sound dampening.
Gear list:
I know it will be asked about so here it is:
Lighting
- 1 Area 48 + snapbag and grid
- 2 2-Foot Pipeline Raw
- Flags and black cloth
Camera
- Blackmagic Ursa Mini 4.6k
- Tokina 11-16mm 2.8 EF-mount
- Tiffen ND-filters
Wrapping up
Yeah! That’s about it. A very simple way to construct a set. I hope it can inspire some of you to try to build your own set. It doesn’t have to be complicated to be good!
Max
No comments yet
Add a comment