The Video
Before we get into the details, I figure you might be interested in seing the results. Take a look and continue reading below when you’re finished!
Introduction
I’ve always appreciated reading about how things are actually done behind the scenes, so it seems just right that I would share my own experiences and thoughts when going about a project. I will do a breakdown of four scenes from the music video and give you my thoughts on how and why we chose to light this way.
Last autumn I was asked to shoot a music video for the band The Soul Exchange. We didn’t have much of a budget but we had a cool location and a great but small crew. Directed by Ludvig Gür and produced by Najka Pictures I knew that it was going to be a great time.
We shot the music video over two days. Day 1 was the story part of the video and day 2 was shooting all the band members. All of it took part in Bogesund Castle. We used pretty much every room in there in order to get some variation in the shots.
The Gear
As we had a low budget I and great gaffer Kamil Janowski figured using Tungsten as the main lighting would be a good idea. We planned to use the hard light from par cans to be our main source and to haze up the rooms for added atmosphere and depth. Unfortunately we were forbidden by the landlord from any hazing at all. We instead opted for Tiffen Smoque 2, a filter that is supposed to mimic the effect of haze without actually using any.
Obviously we didn’t get the same depth that real haze gives, but I was surprised by how well it worked giving a sense of haziness in the room. It benefitted us greatly that we had so many light sources pointing straight into the lens making the effect much more pronounced.
We also added a dedolight kit for very precise lighting (I’ll get to that), a dedolight kit, 2 LED-panels bi-colour and some very versatile 4-foot Pipeline Raw from BB&S.
Since we were going for a dark look but we were shooting during the day, we had to get some black cloth and flags to block out the sunlight from the windows as well.
We wanted to have some camera movement but with our limited time I figured a wheelchair and shoulder mount would be best. This way we could get some movement that was steadier than walking but still move fast.
So what we ended up using was:
Lighting
- 5 Par cans 1kW
- 1 Dedolight kit 3x150W
- 2 Litepanels Astra Bi-colour
- 4 4-Foot Pipeline Raw
- Flags and black cloth
Camera
- Red Epic Dragon 6K
- Sigma Art-lenses
- Tiffen Smoque 2
- Tiffen ND-filters
- Bright Tangerine Misfit Atom
- DJI Follow Focus
- Wheelchair
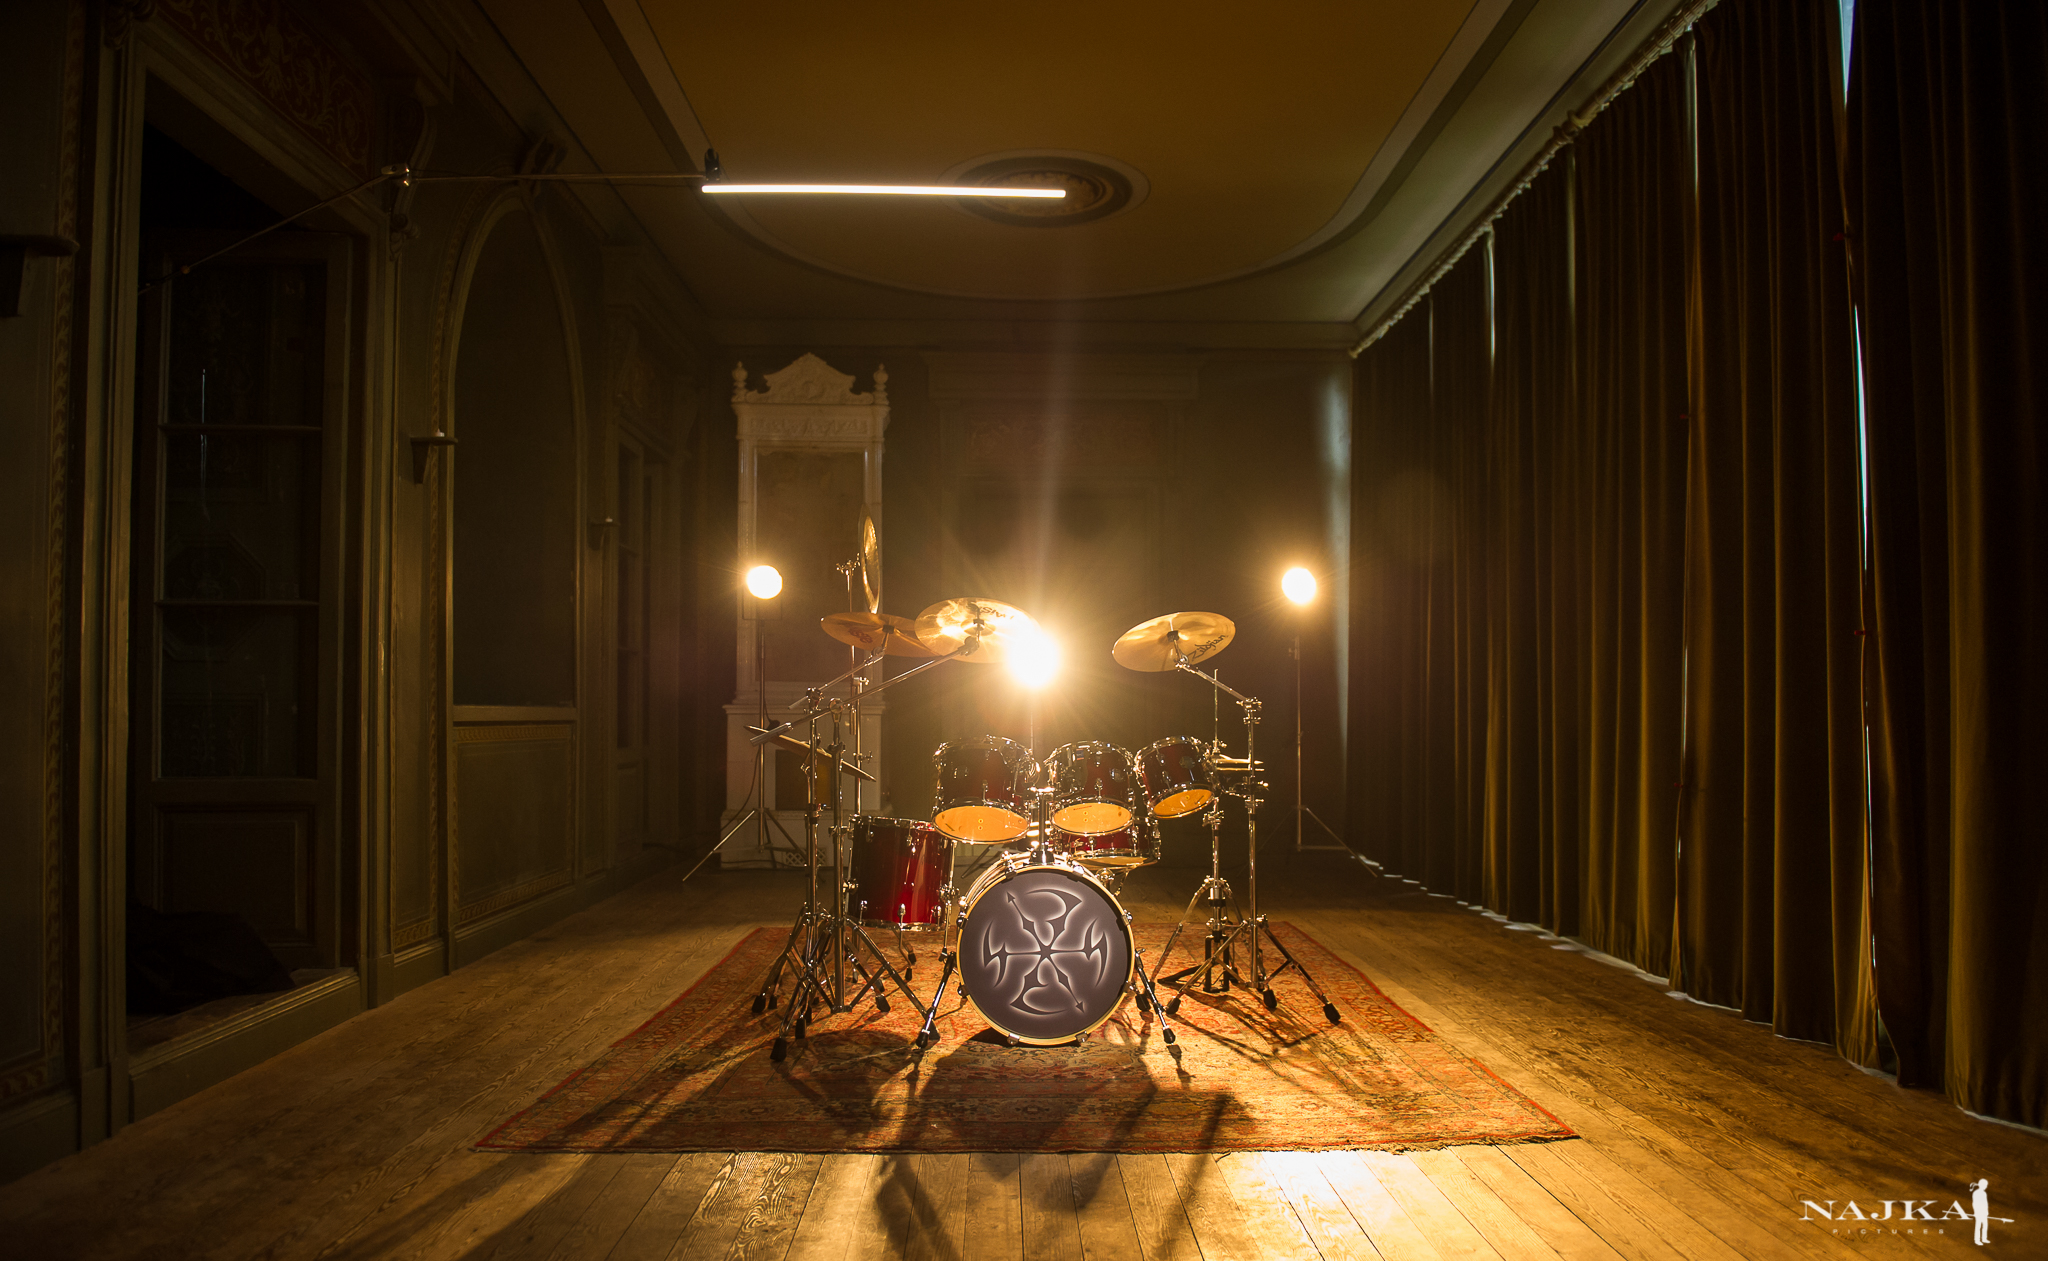
Scene 1 - Drummer
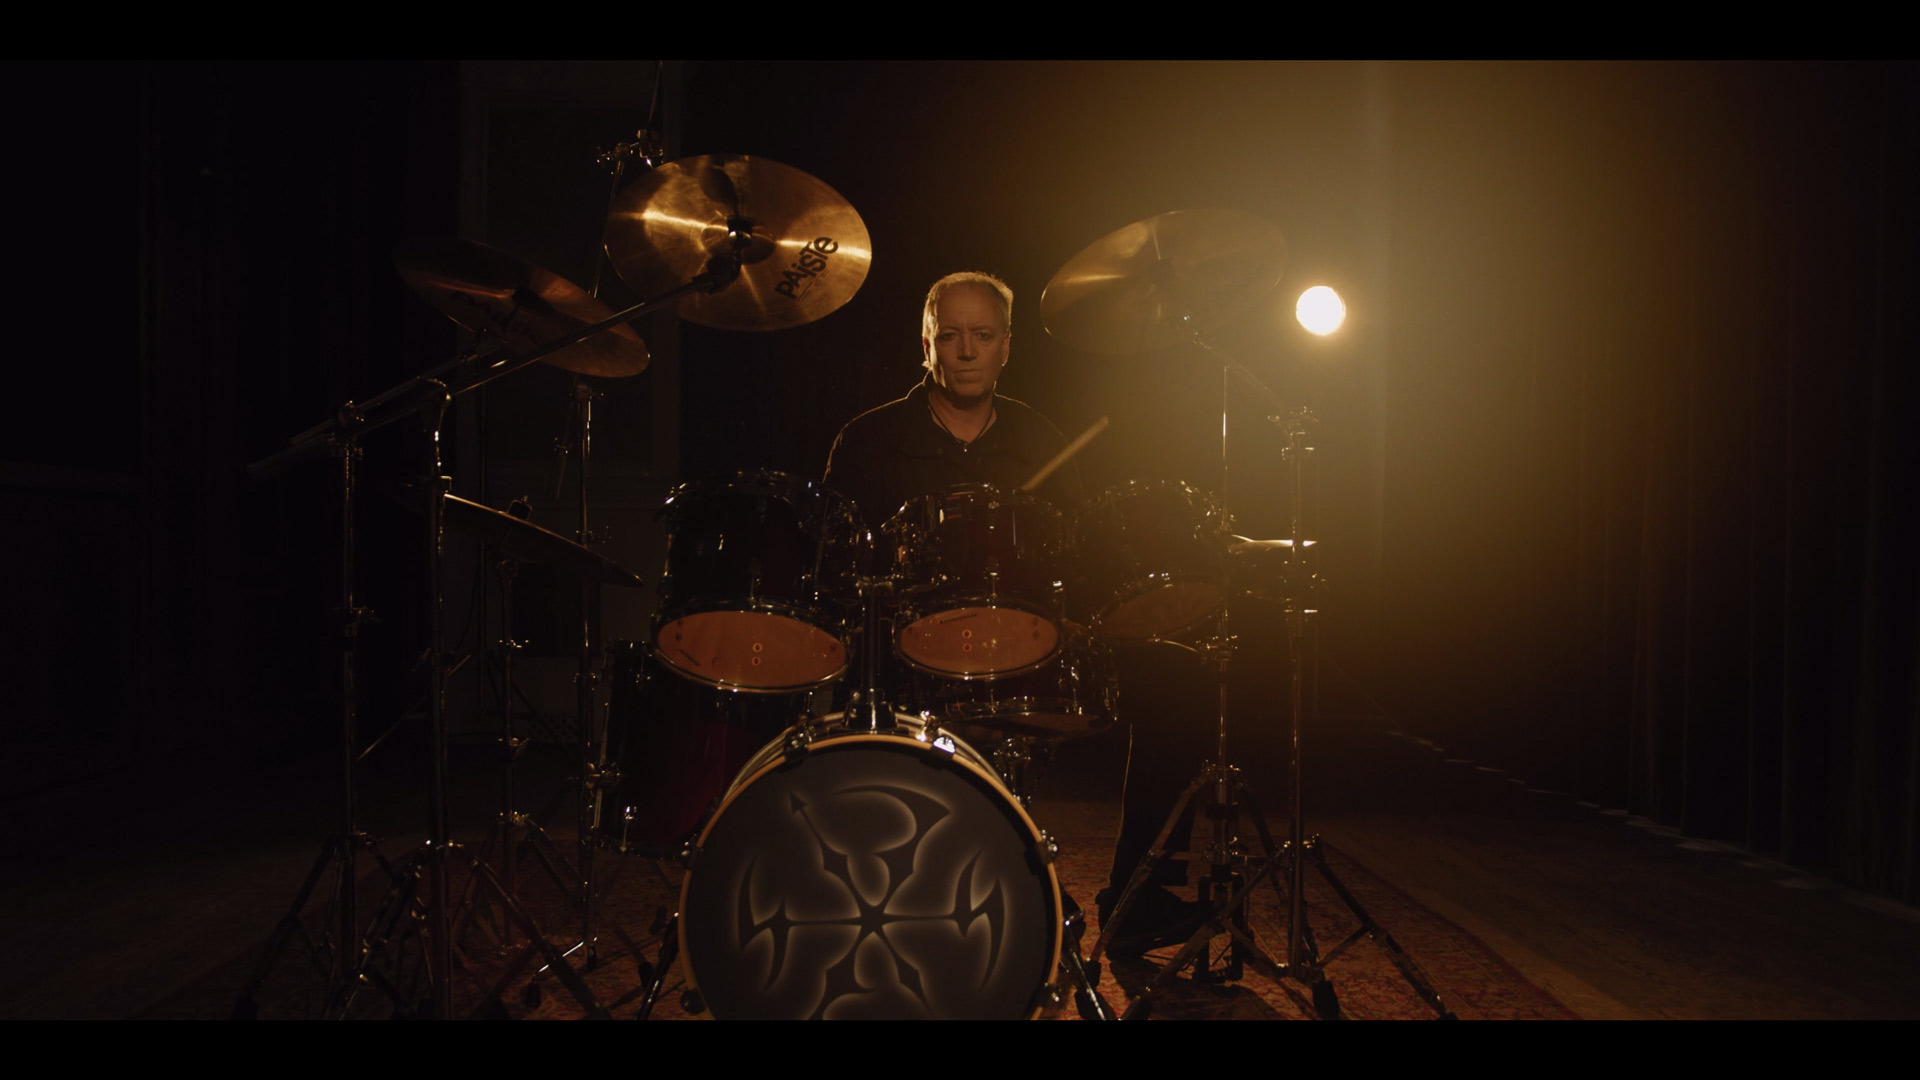
What’s great about this video is that we knew from the start that we wanted lights inside the shot
so we never had to worry about limitations for the lights. I wanted to try to be creative with the rooms we had and to get some variation between the shots. This was the first shot we did with any instrument.
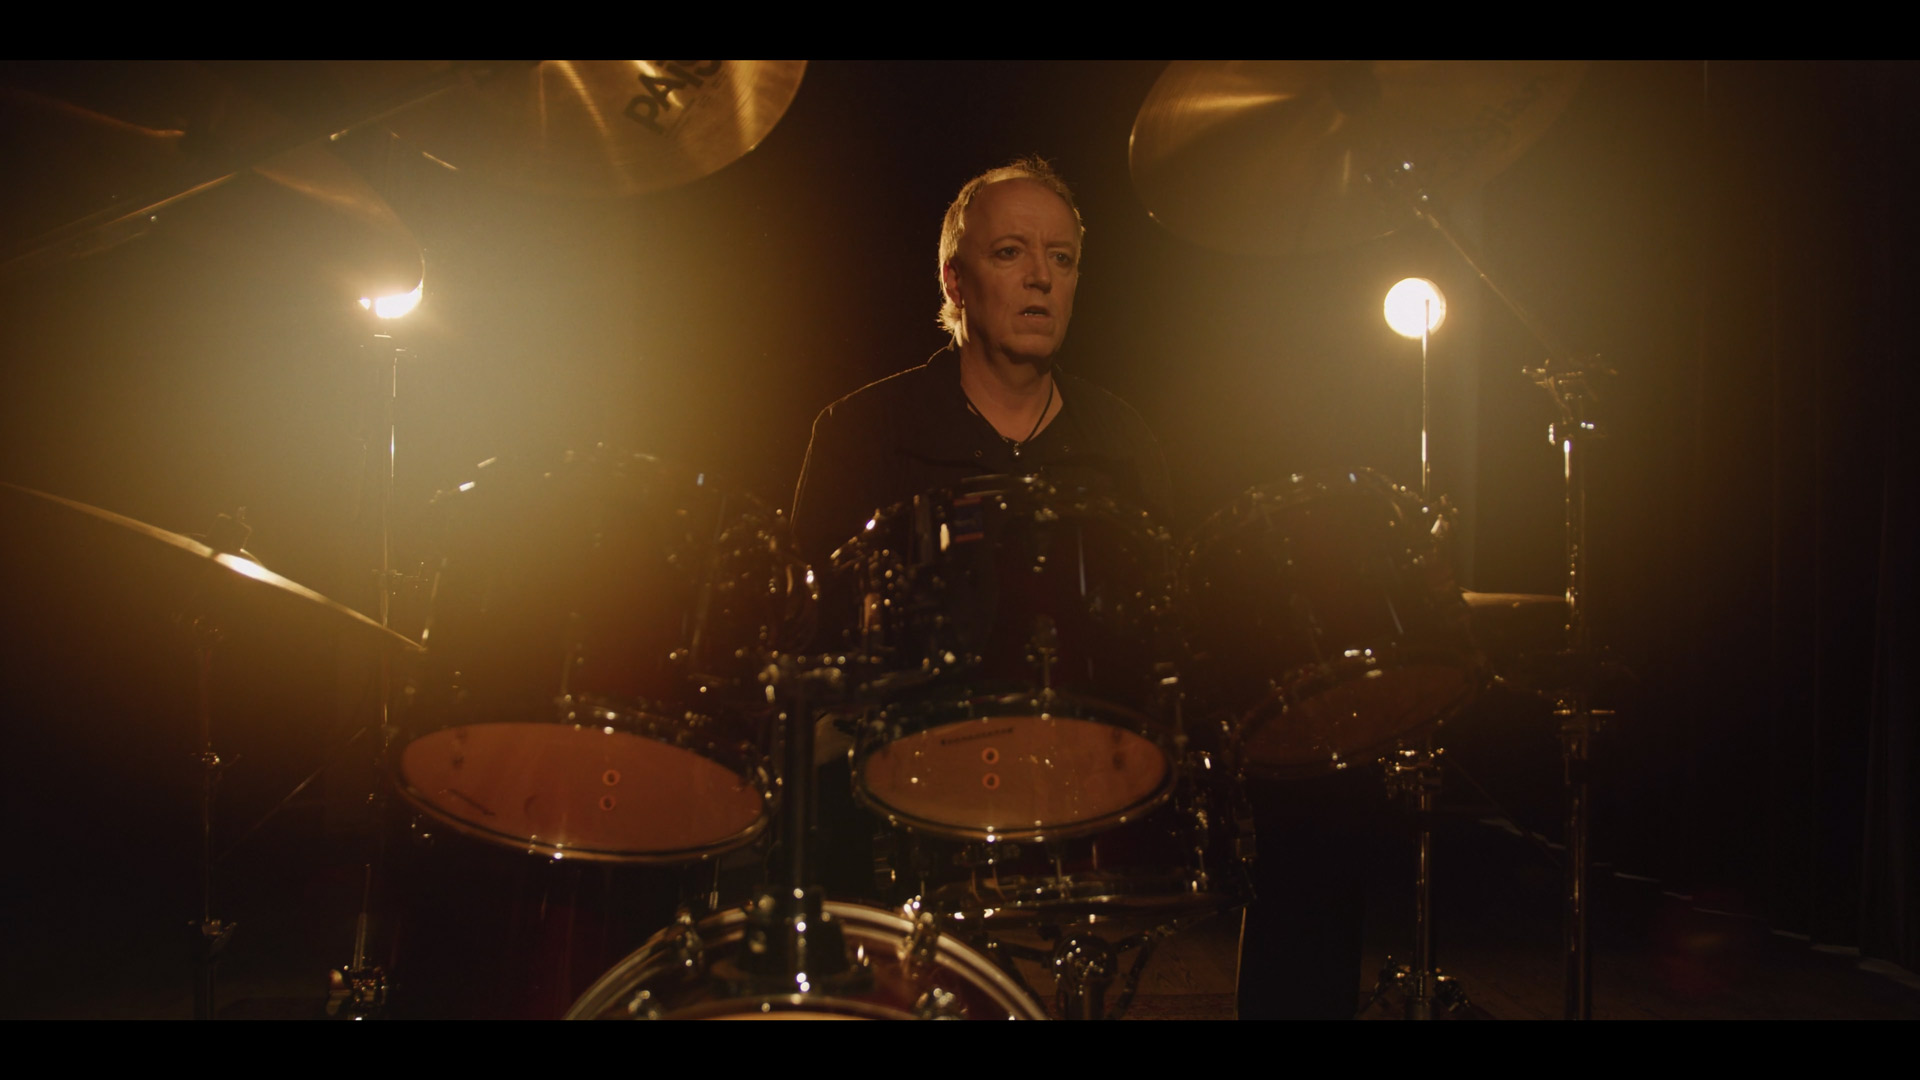
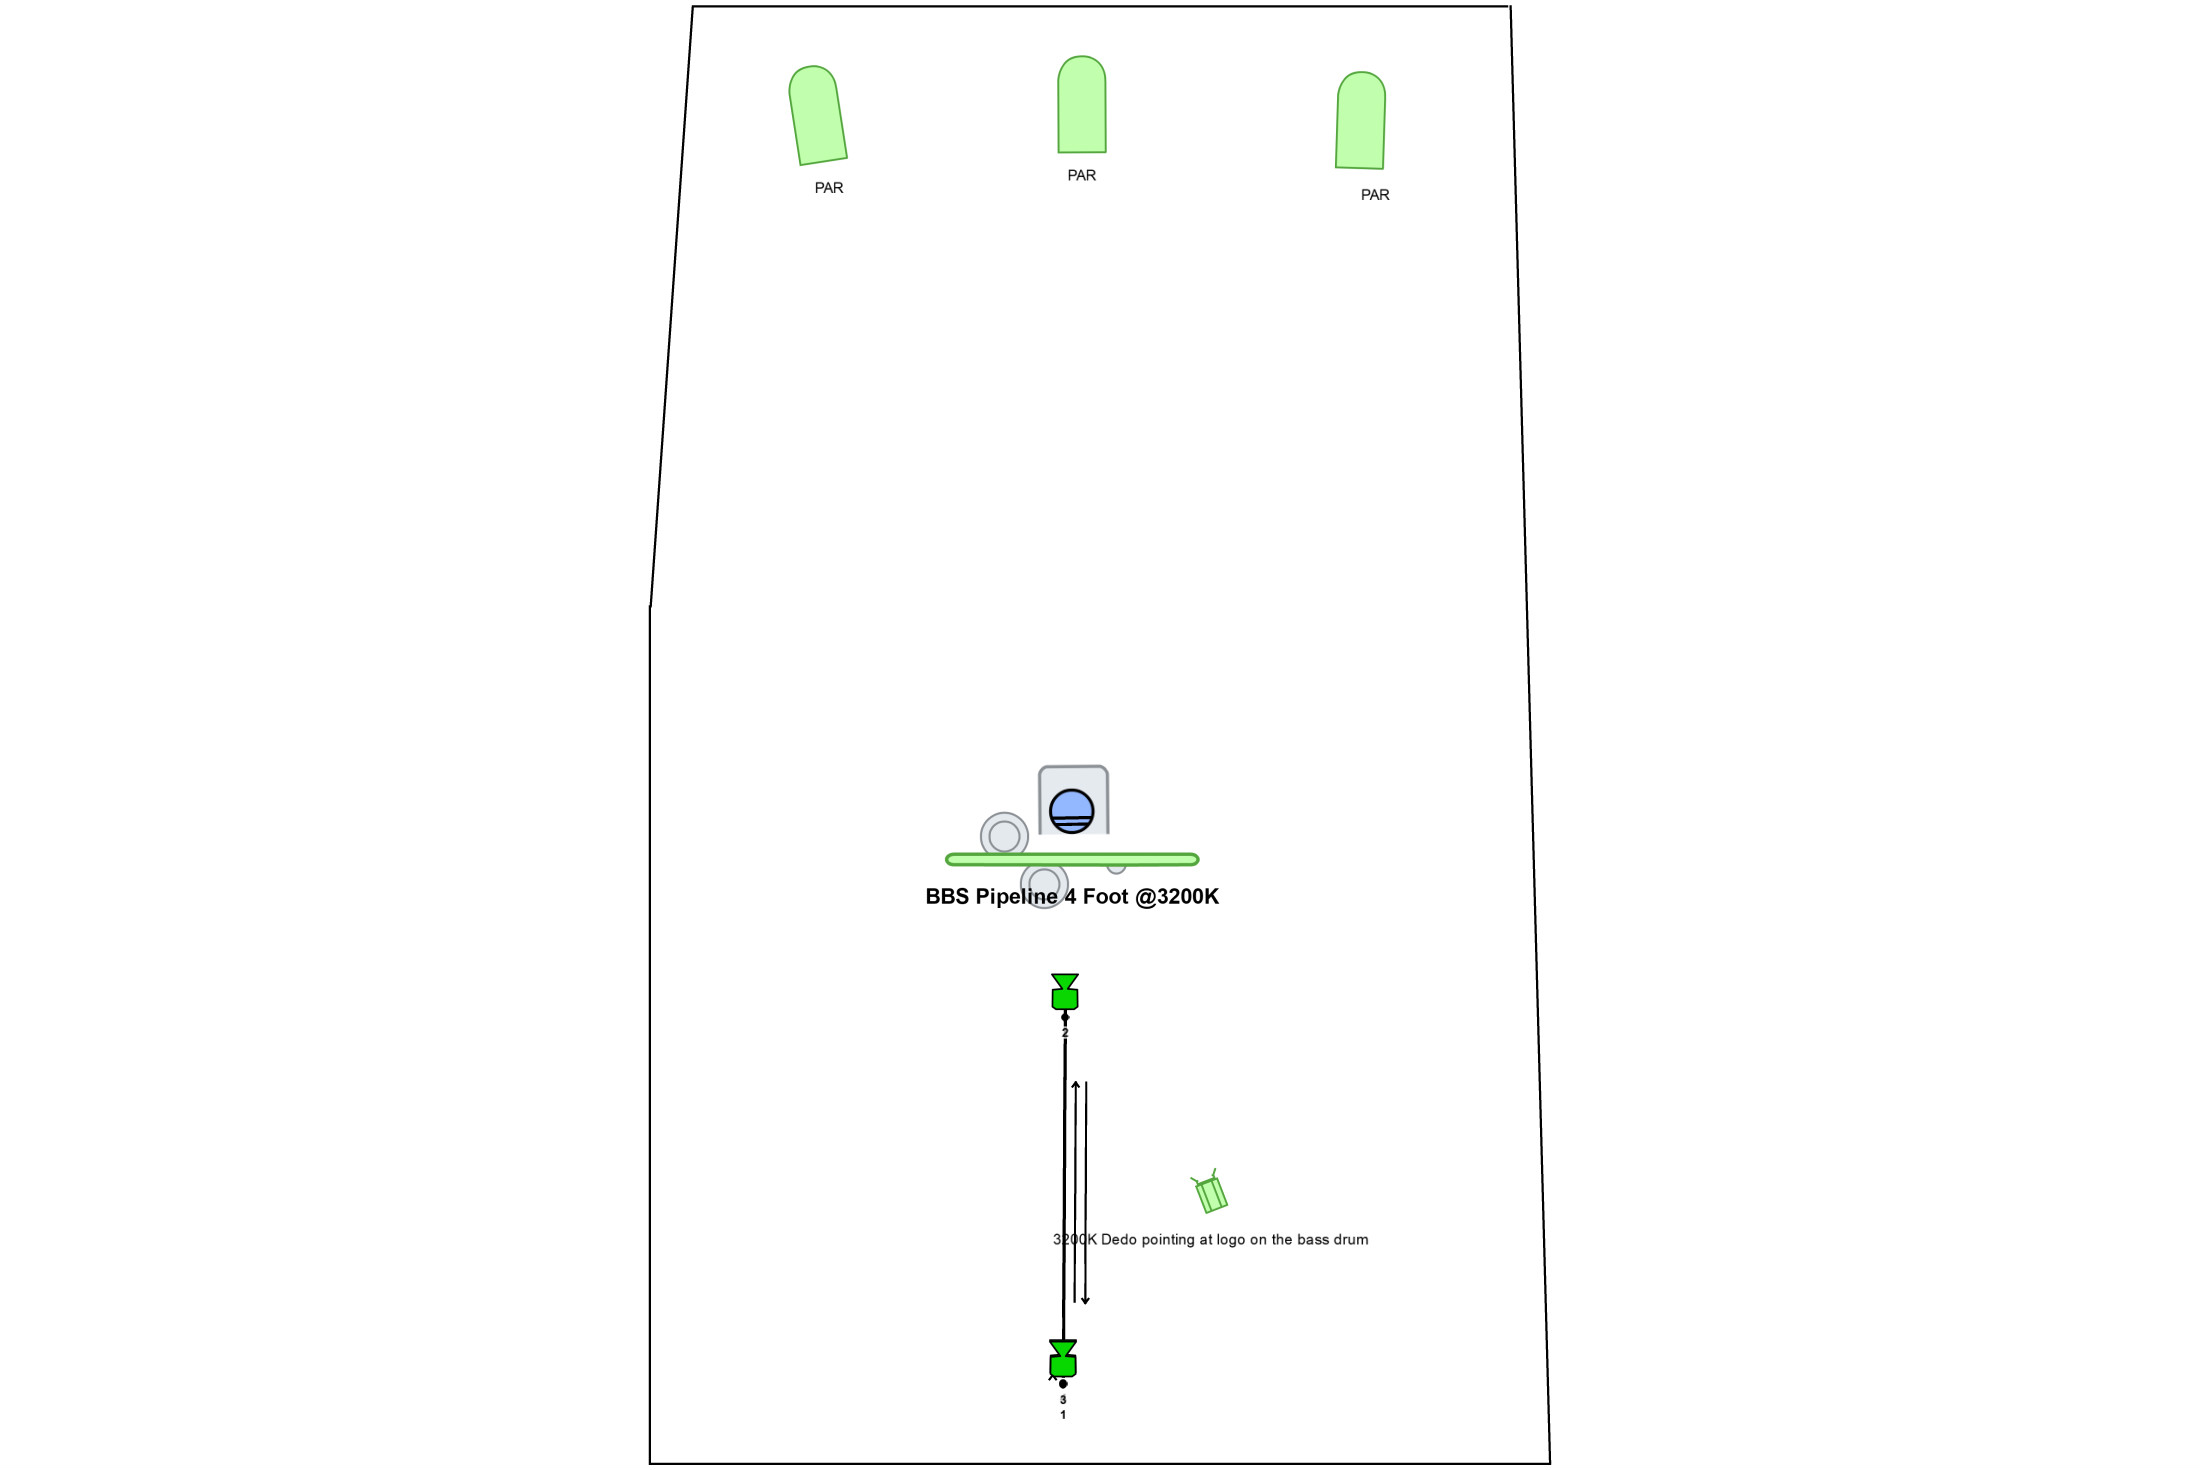
We placed three par cans behind the drummer pointed towards him, you can see them in the shot. Then we added a single pipeline just outside of frame to bring up the exposure of the drummer. Great output in such a small light. The final touch was to use a dedo pointed at the bass drum to bring up the exposure of the band logo.
We shot him playing the whole song two times, once in a wide shot, something like 25mm and 50mm. I mostly used the Sigma 18-35mm in this video and every now and then i used the 50mm. For this shot I was in the wheelchair riding towards him and away from him continuously.
It was a pretty fast and easy setup, but that’s how we had to think thoughout the day since we had so many shots to get in a short amount of time.

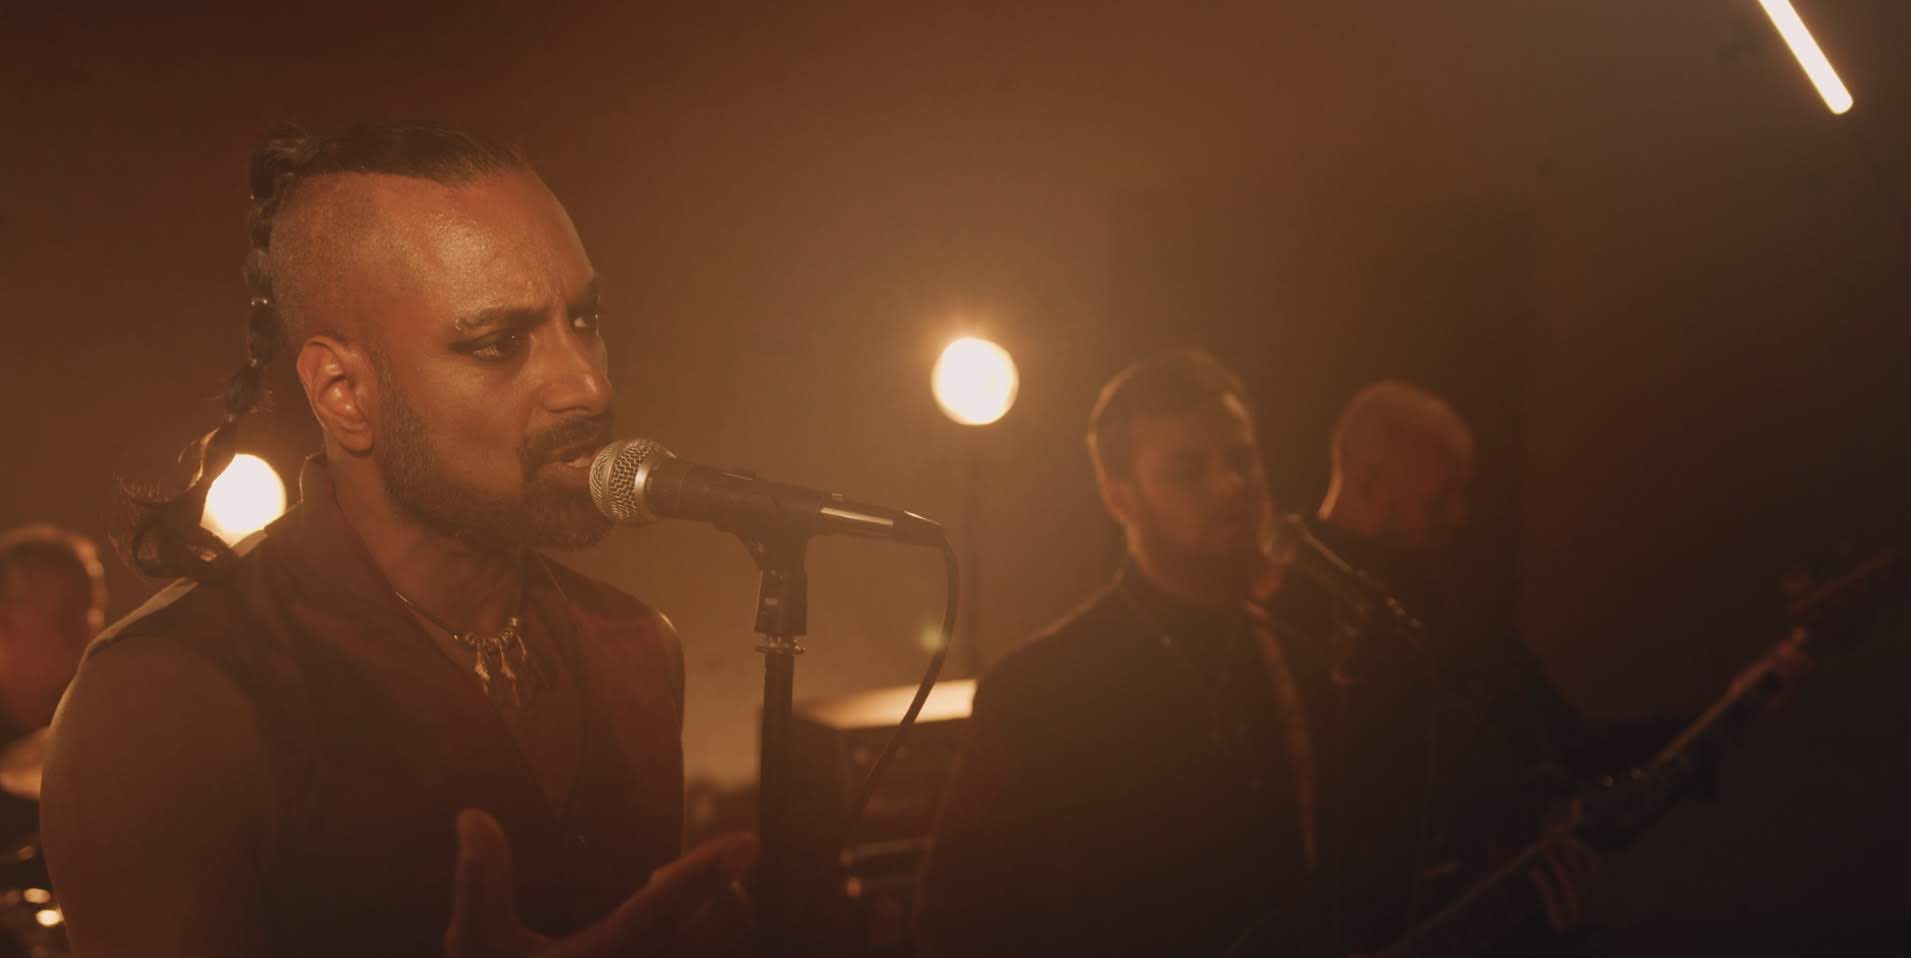
Scene 2 - Lead Guitar
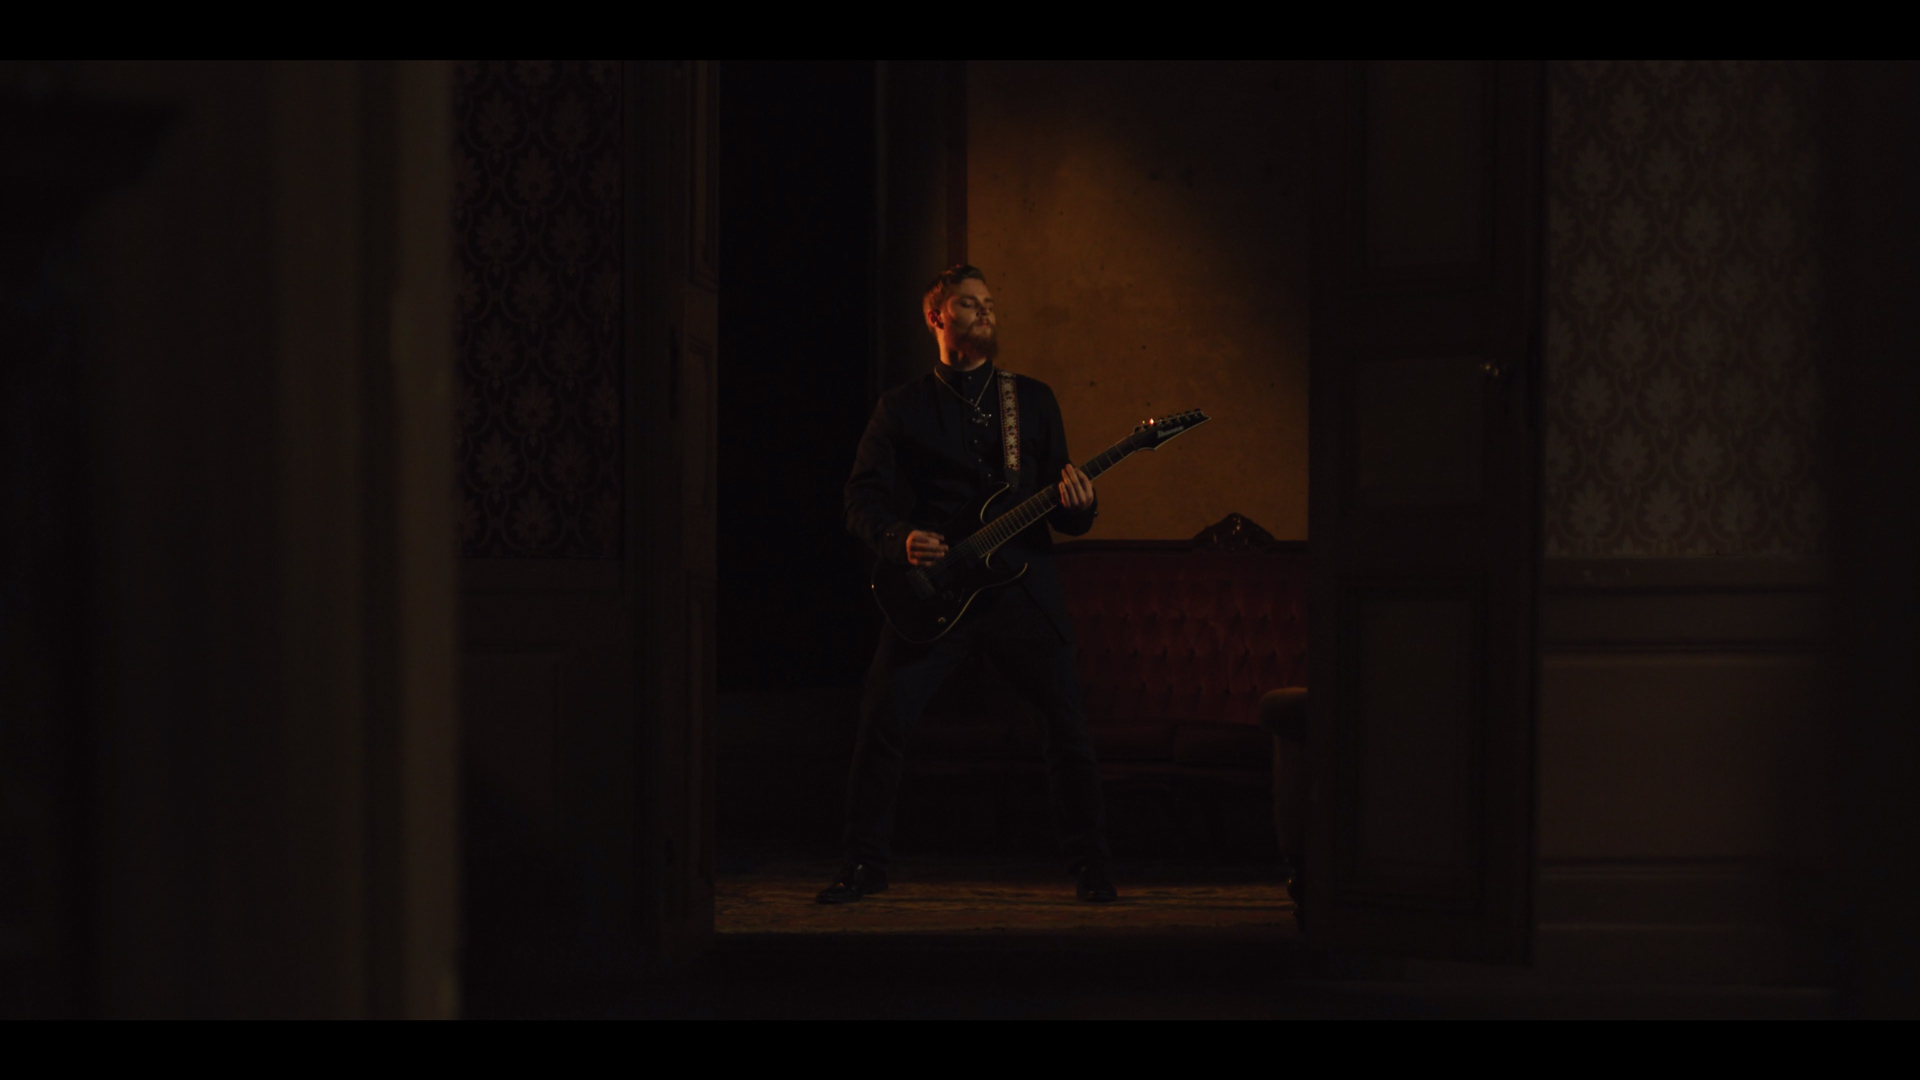
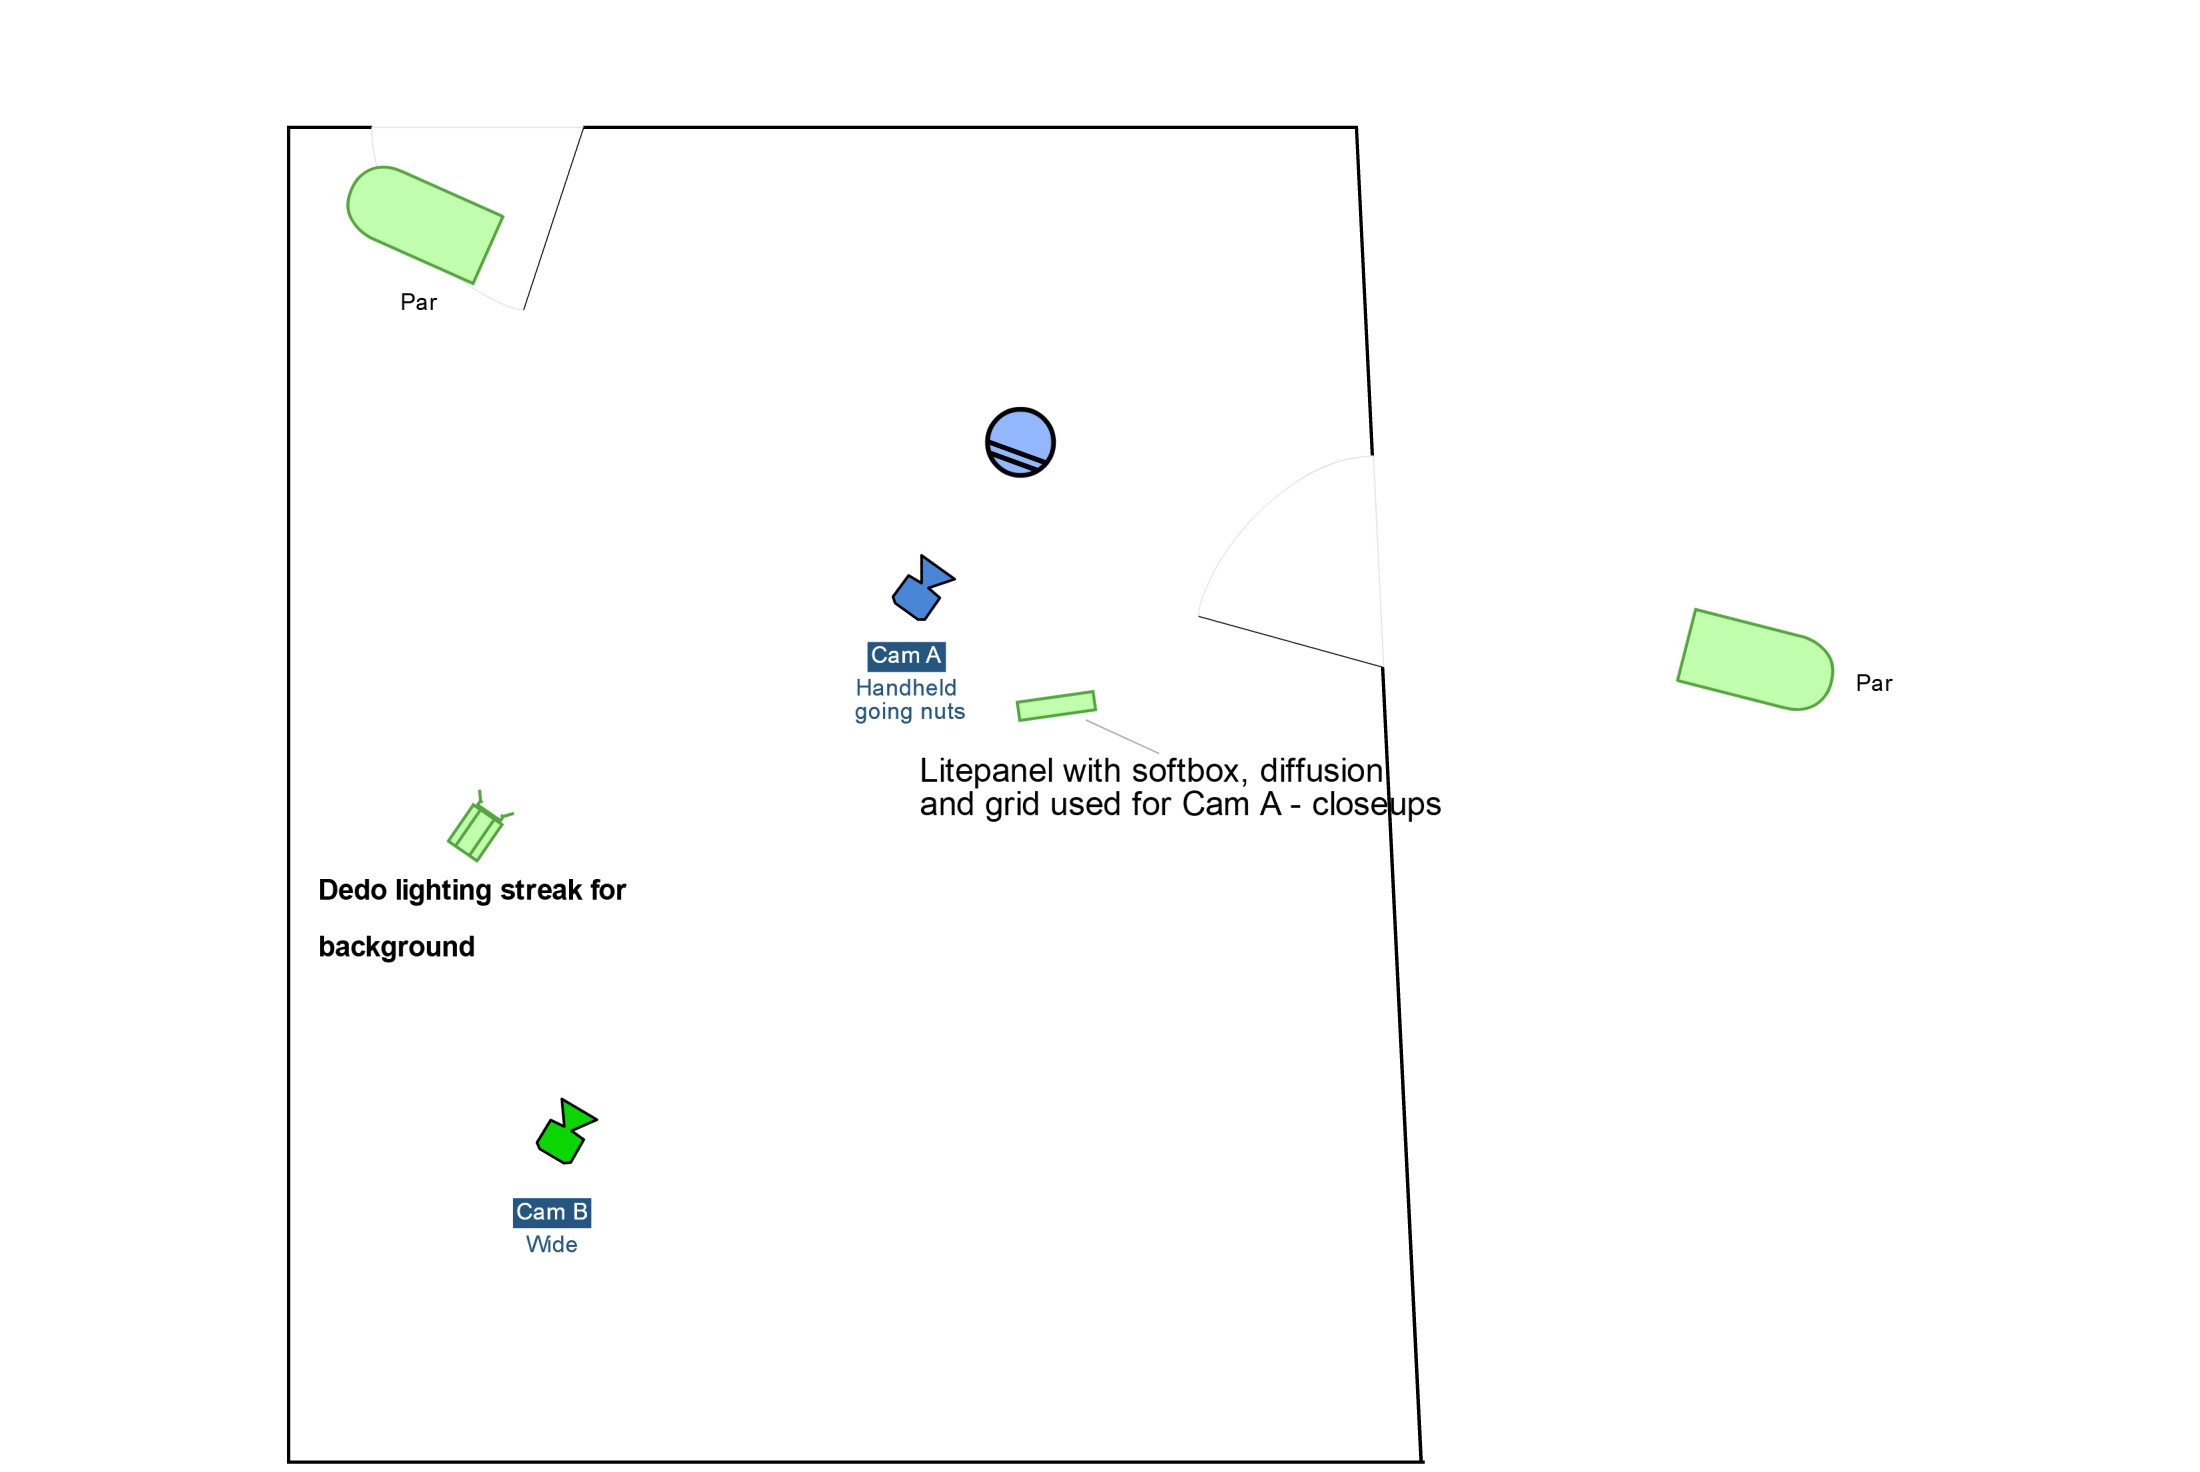
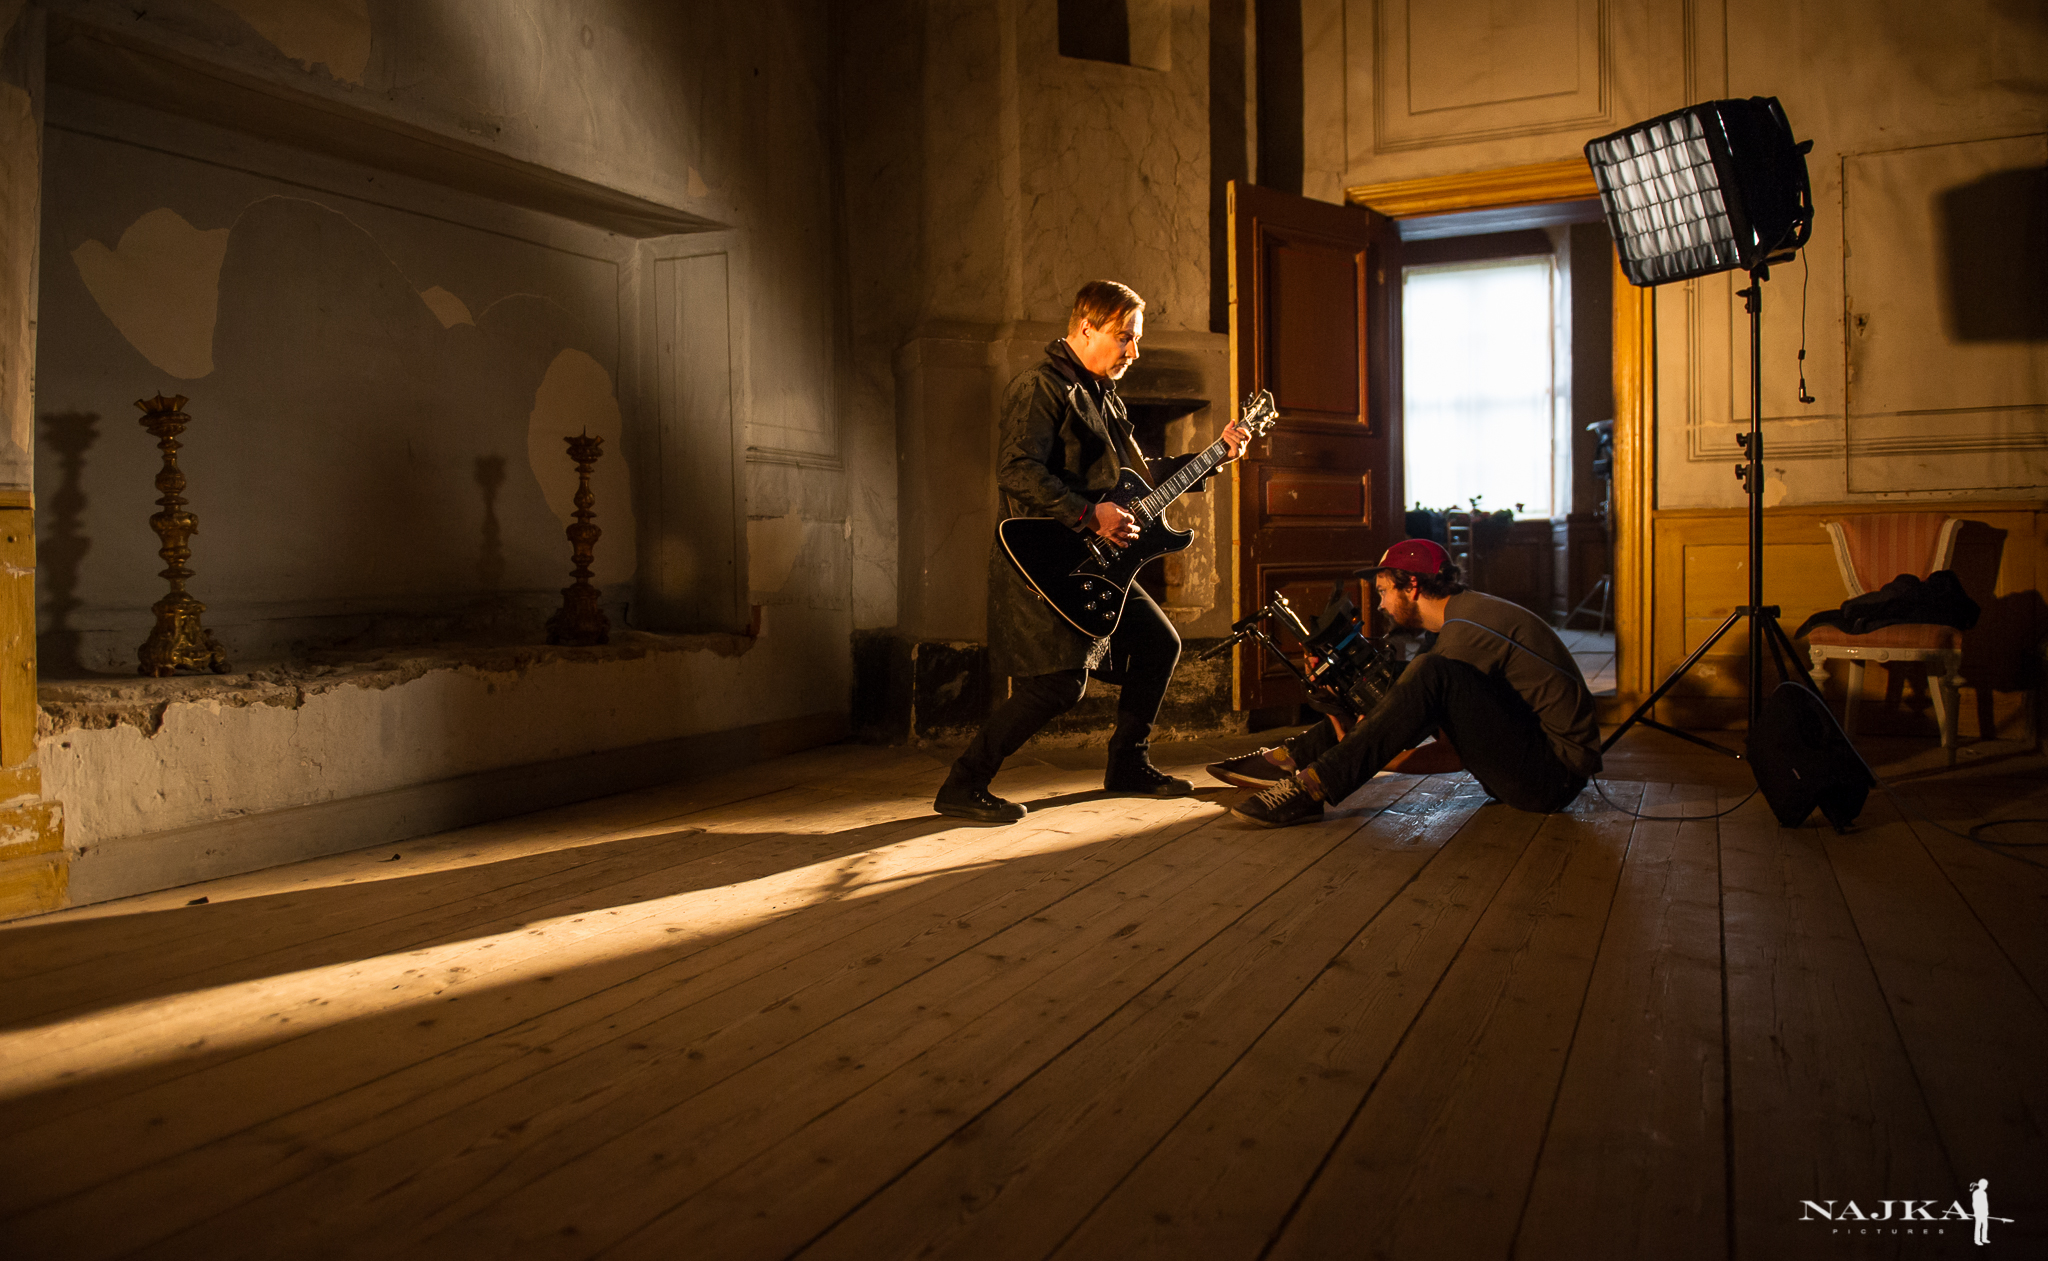
For this one we added a bit of daylight to give some colour contrast with the tungsten coming from the side. We had a bit more work to do in blocking the daylight in this shot since it was shot across a hallway covering several rooms. To give a sense of depth we didn’t fully block one of the windows so we had some light hitting the wall just in front of the guitarist.
The daylight on the guitarist is from a Litepanel with grid on it to reduce spilling on the back wall. We dimmed down the par can and the dedo to get a very red-orange colour on his neck and face.
This one was also done on two different lenses and in the wheelchair.
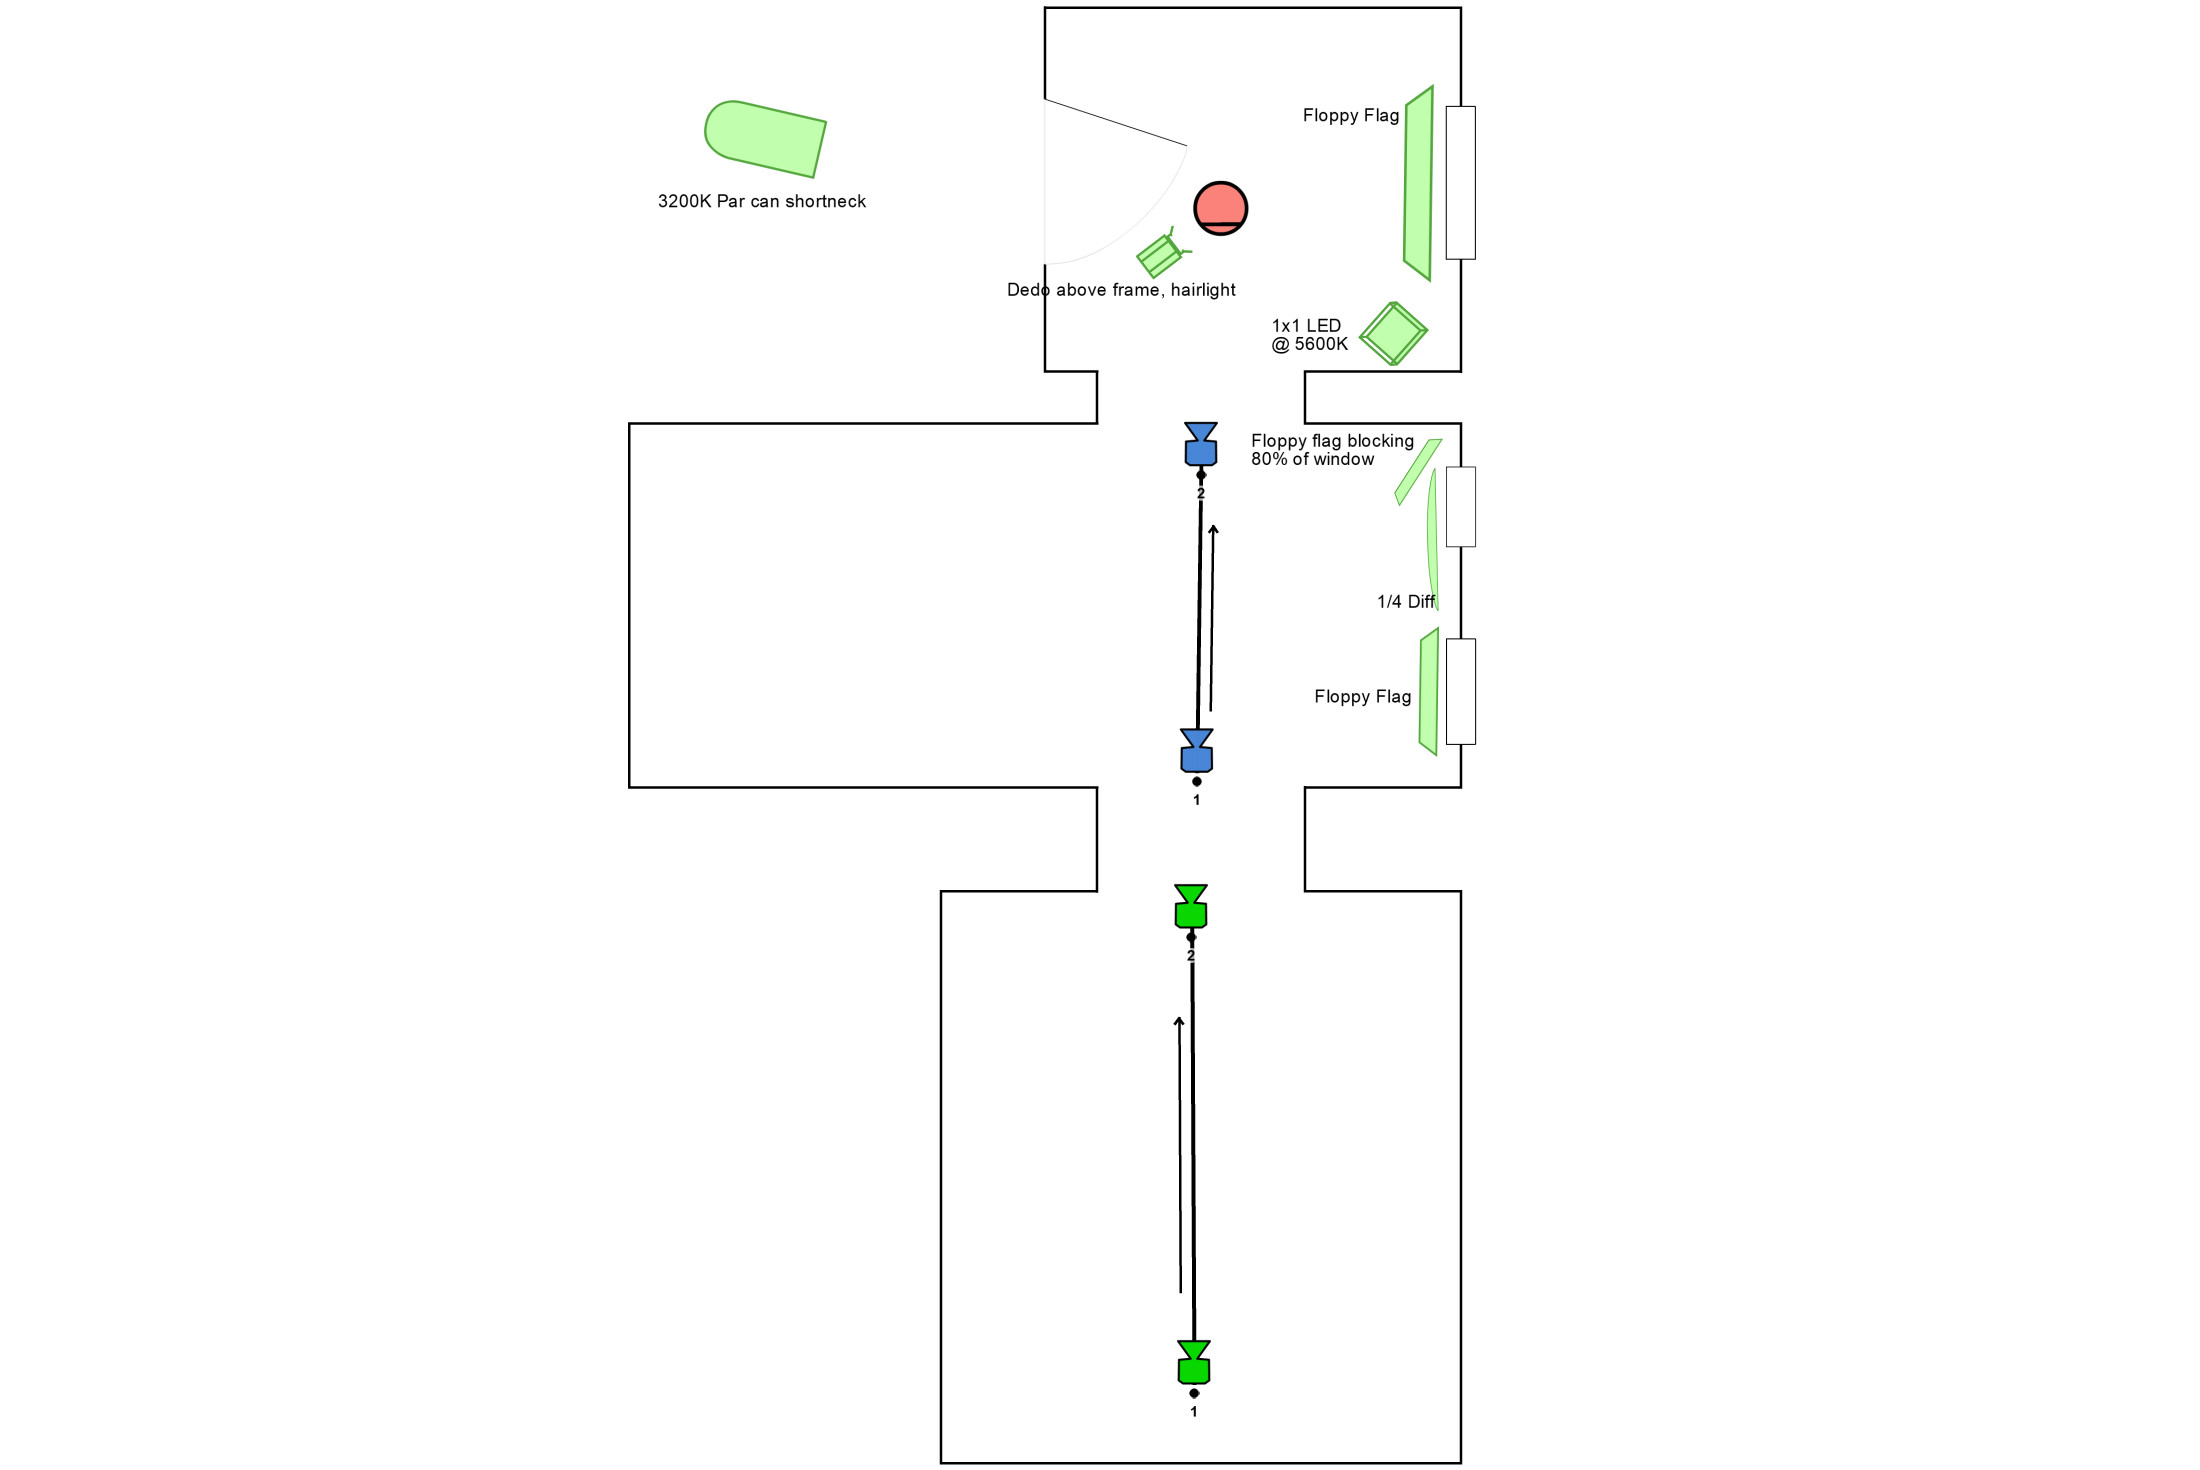
Scene 3 - Rhythm Guitar
This was the 2nd to last one we did, each one getting harder and harder to find a variation with the lighting. But I like how this one ended up, the light ray on the wall behind him is a nice touch and the wide shot has a different framing than any other shot. We did not use the wheelchair on this scene, instead we had a wide shot and then I went in for some close-ups of the guitar, the guitarist and anything else I felt looked interesting.
For the close-ups we added a litepanel with a softbox to fill the hard shadows a bit.
This is also one of the few shots where there are no lights inside the shot. In the wide shot he’s only lit with a par can from each side and then we put a dedo on the wall behind him to make it more interesting.
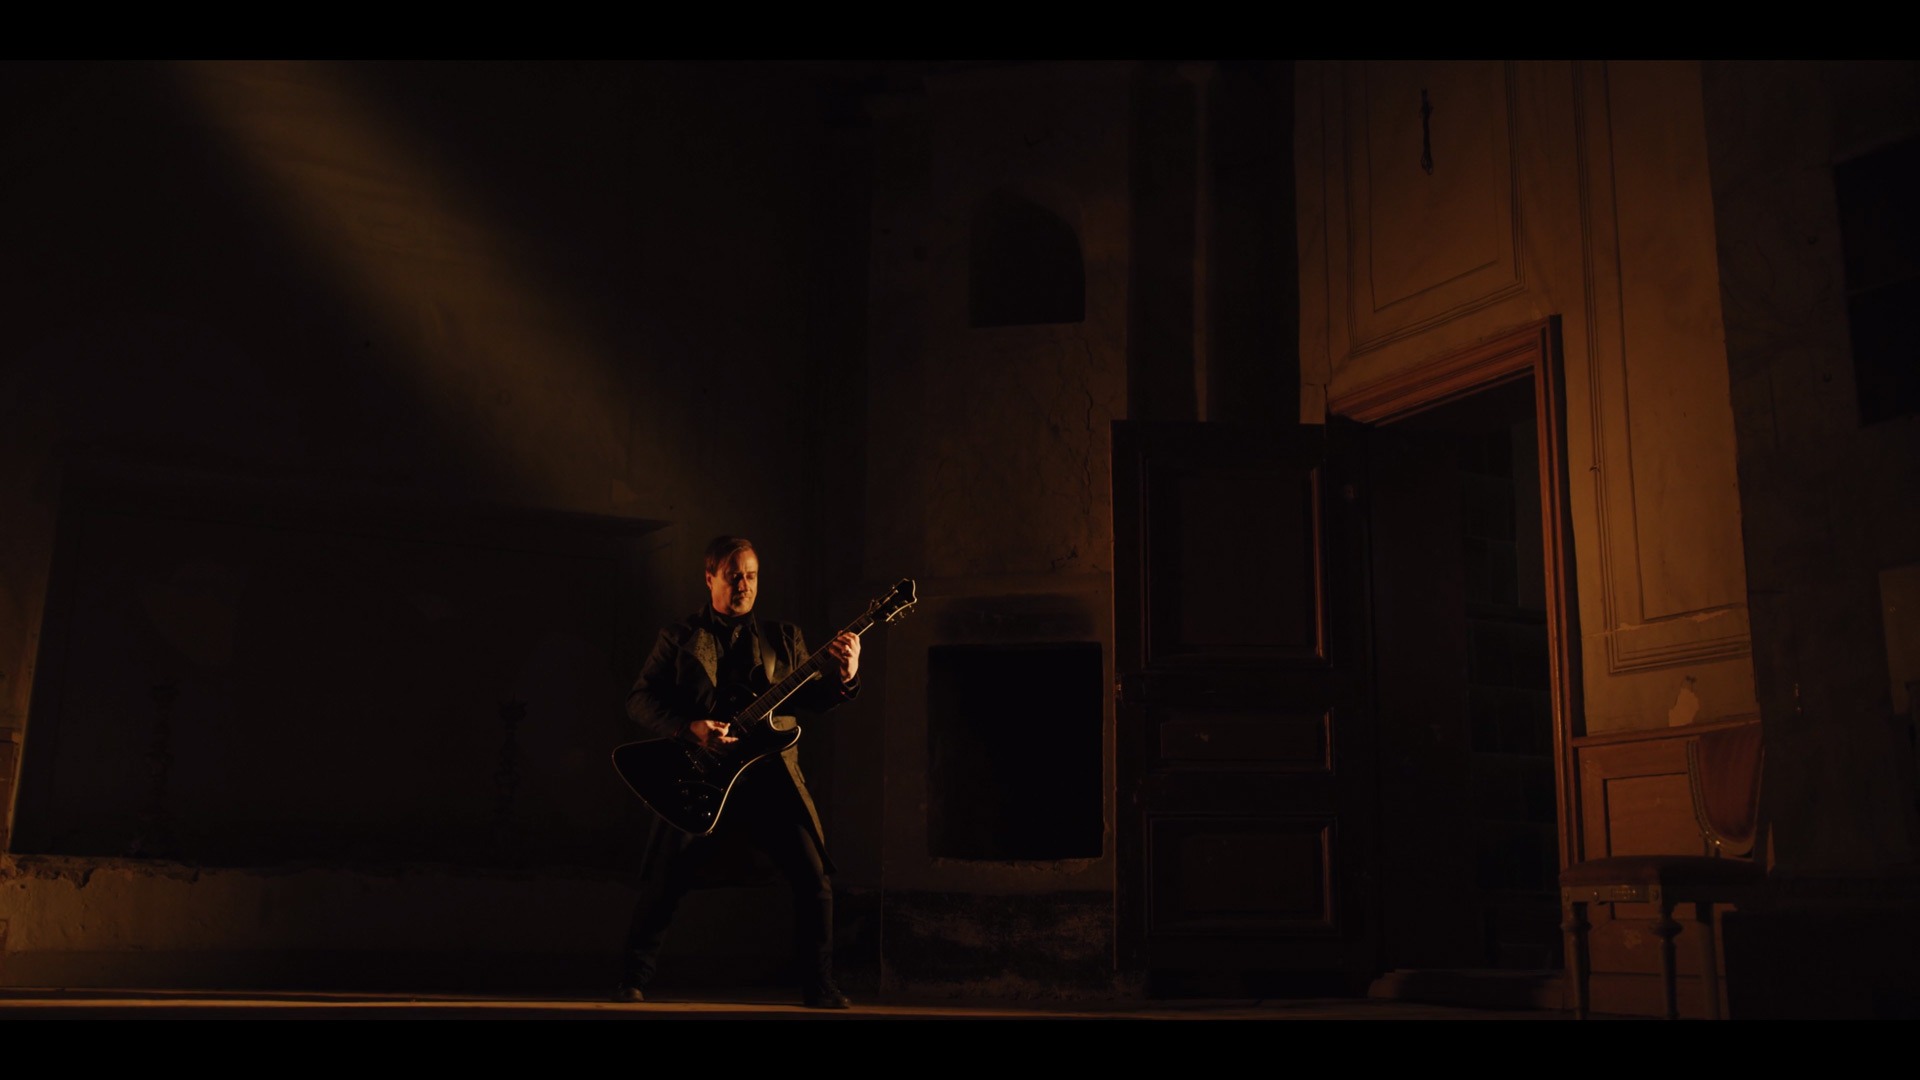
Scene 4 - Bass Guitar

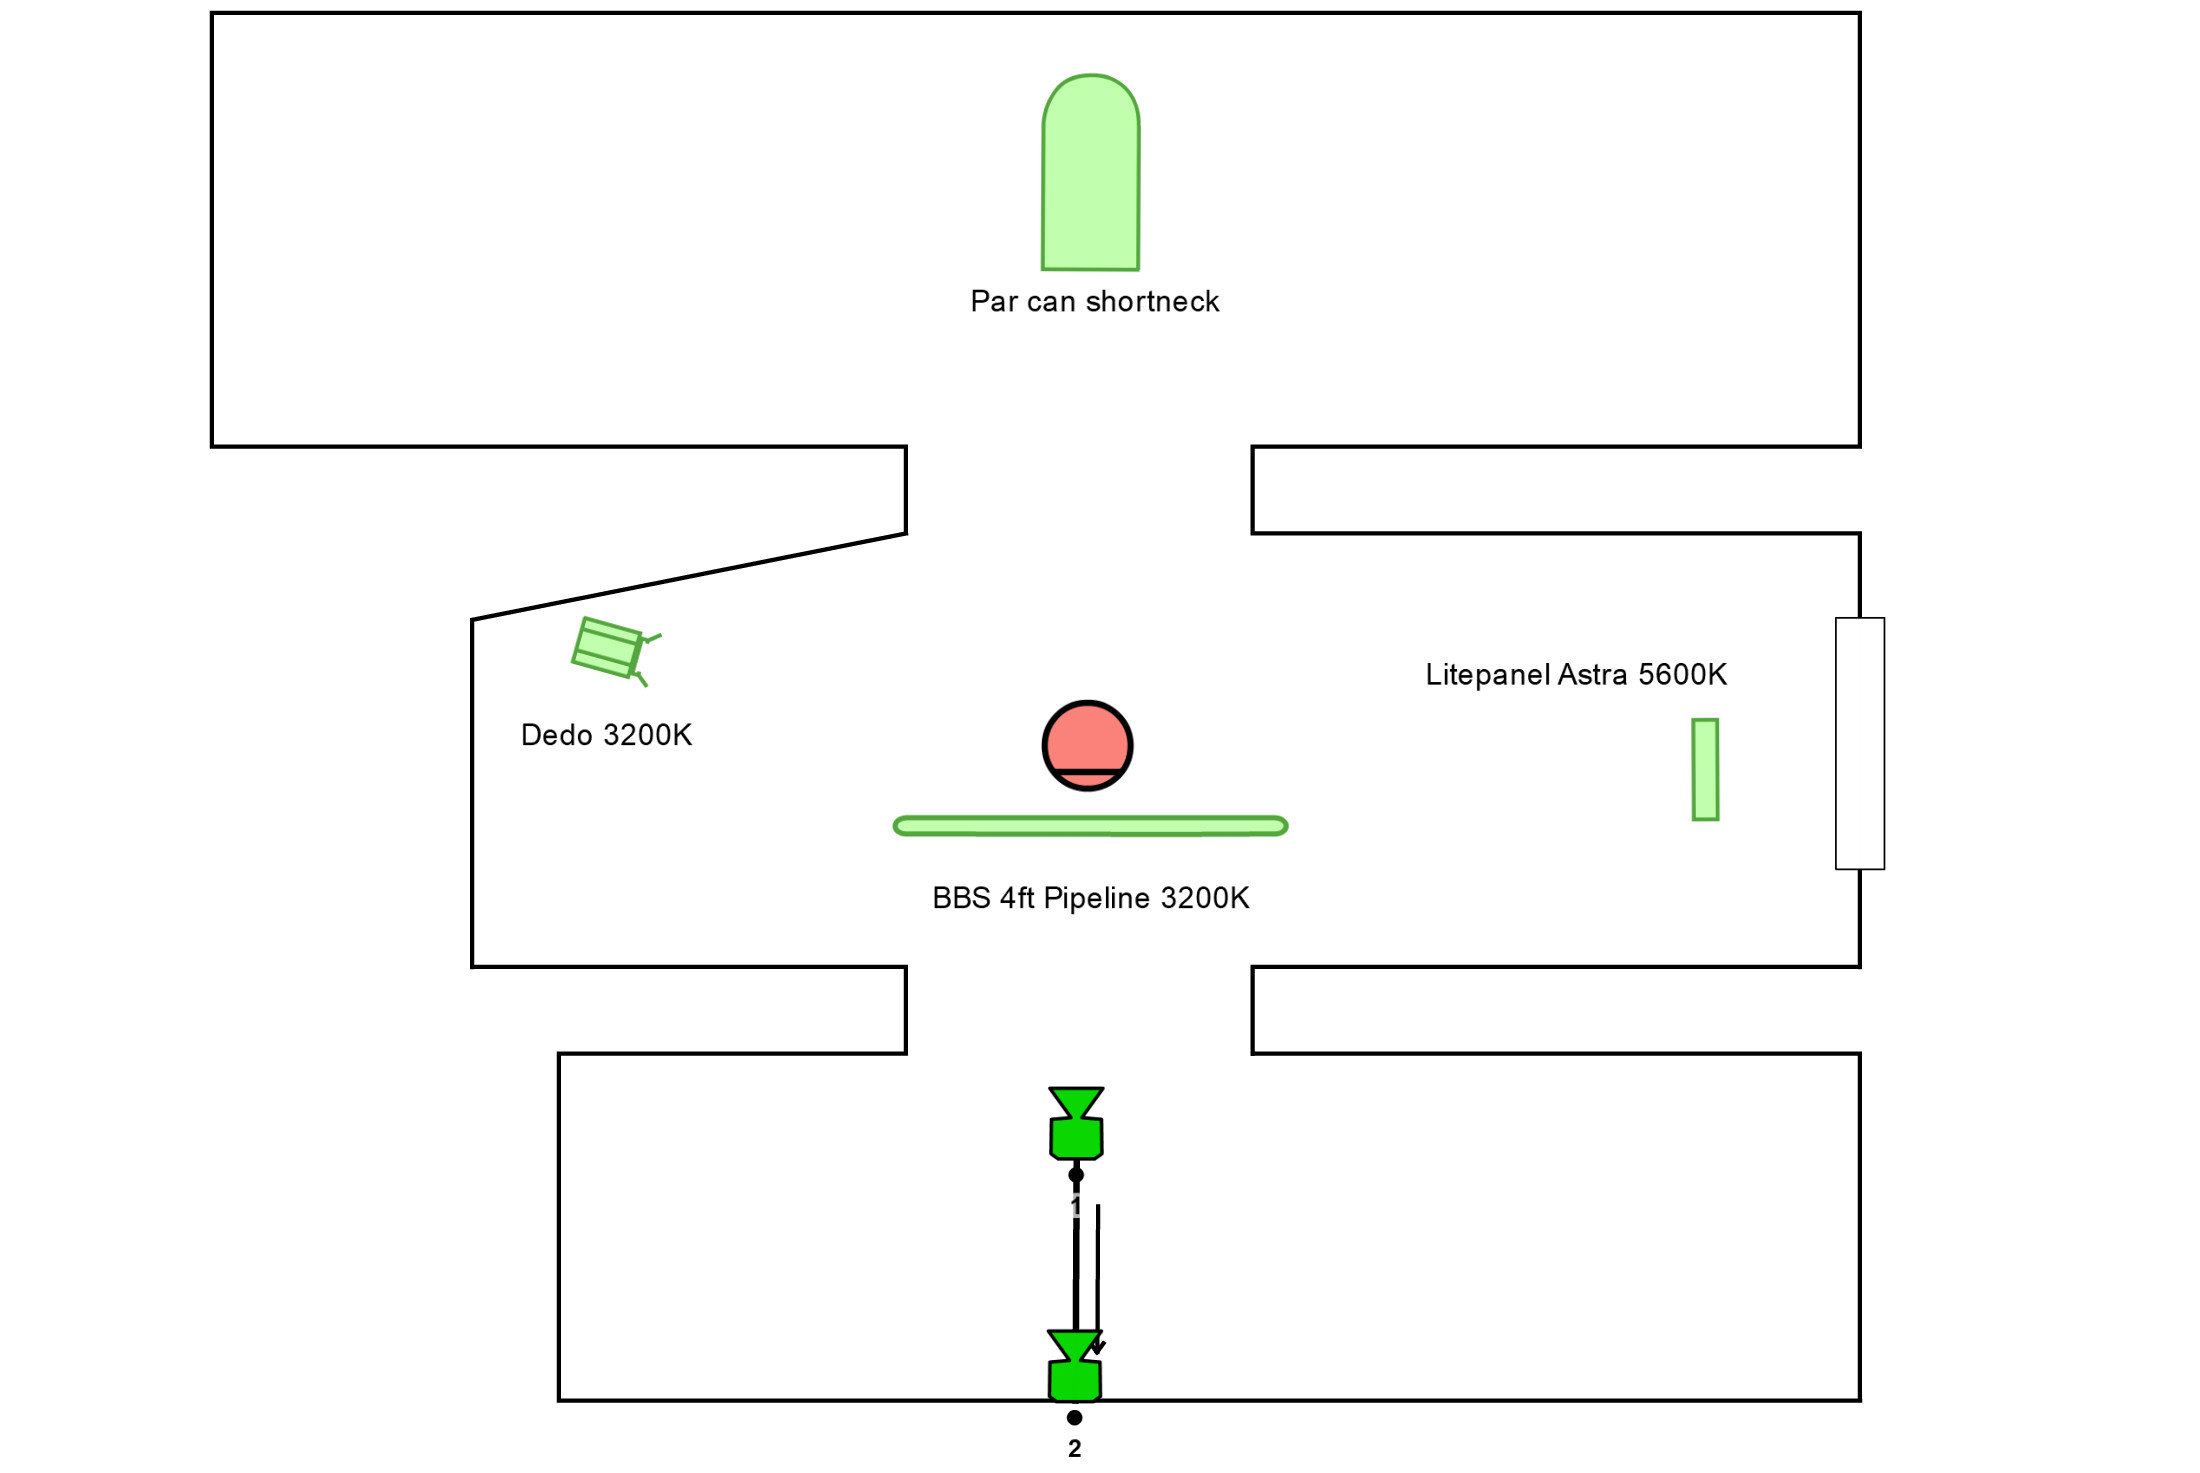
Again, a simple setup but with him being framed by the doorways it makes for a good shot and with some variation from the other shots in the video. Par can behind him, straight into the camera, blocked by the bass player giving him a real nice backlight. Again we went for some daylight to fill out the right side of his face and give some colour contrast. And once again we used a BBS Pipeline just outside of frame to give some front light.
Wrapping up
That’s four scenes from the music video, most of the other scenes you can make out the lighting from just looking at the video, the lights are after all in the shots!
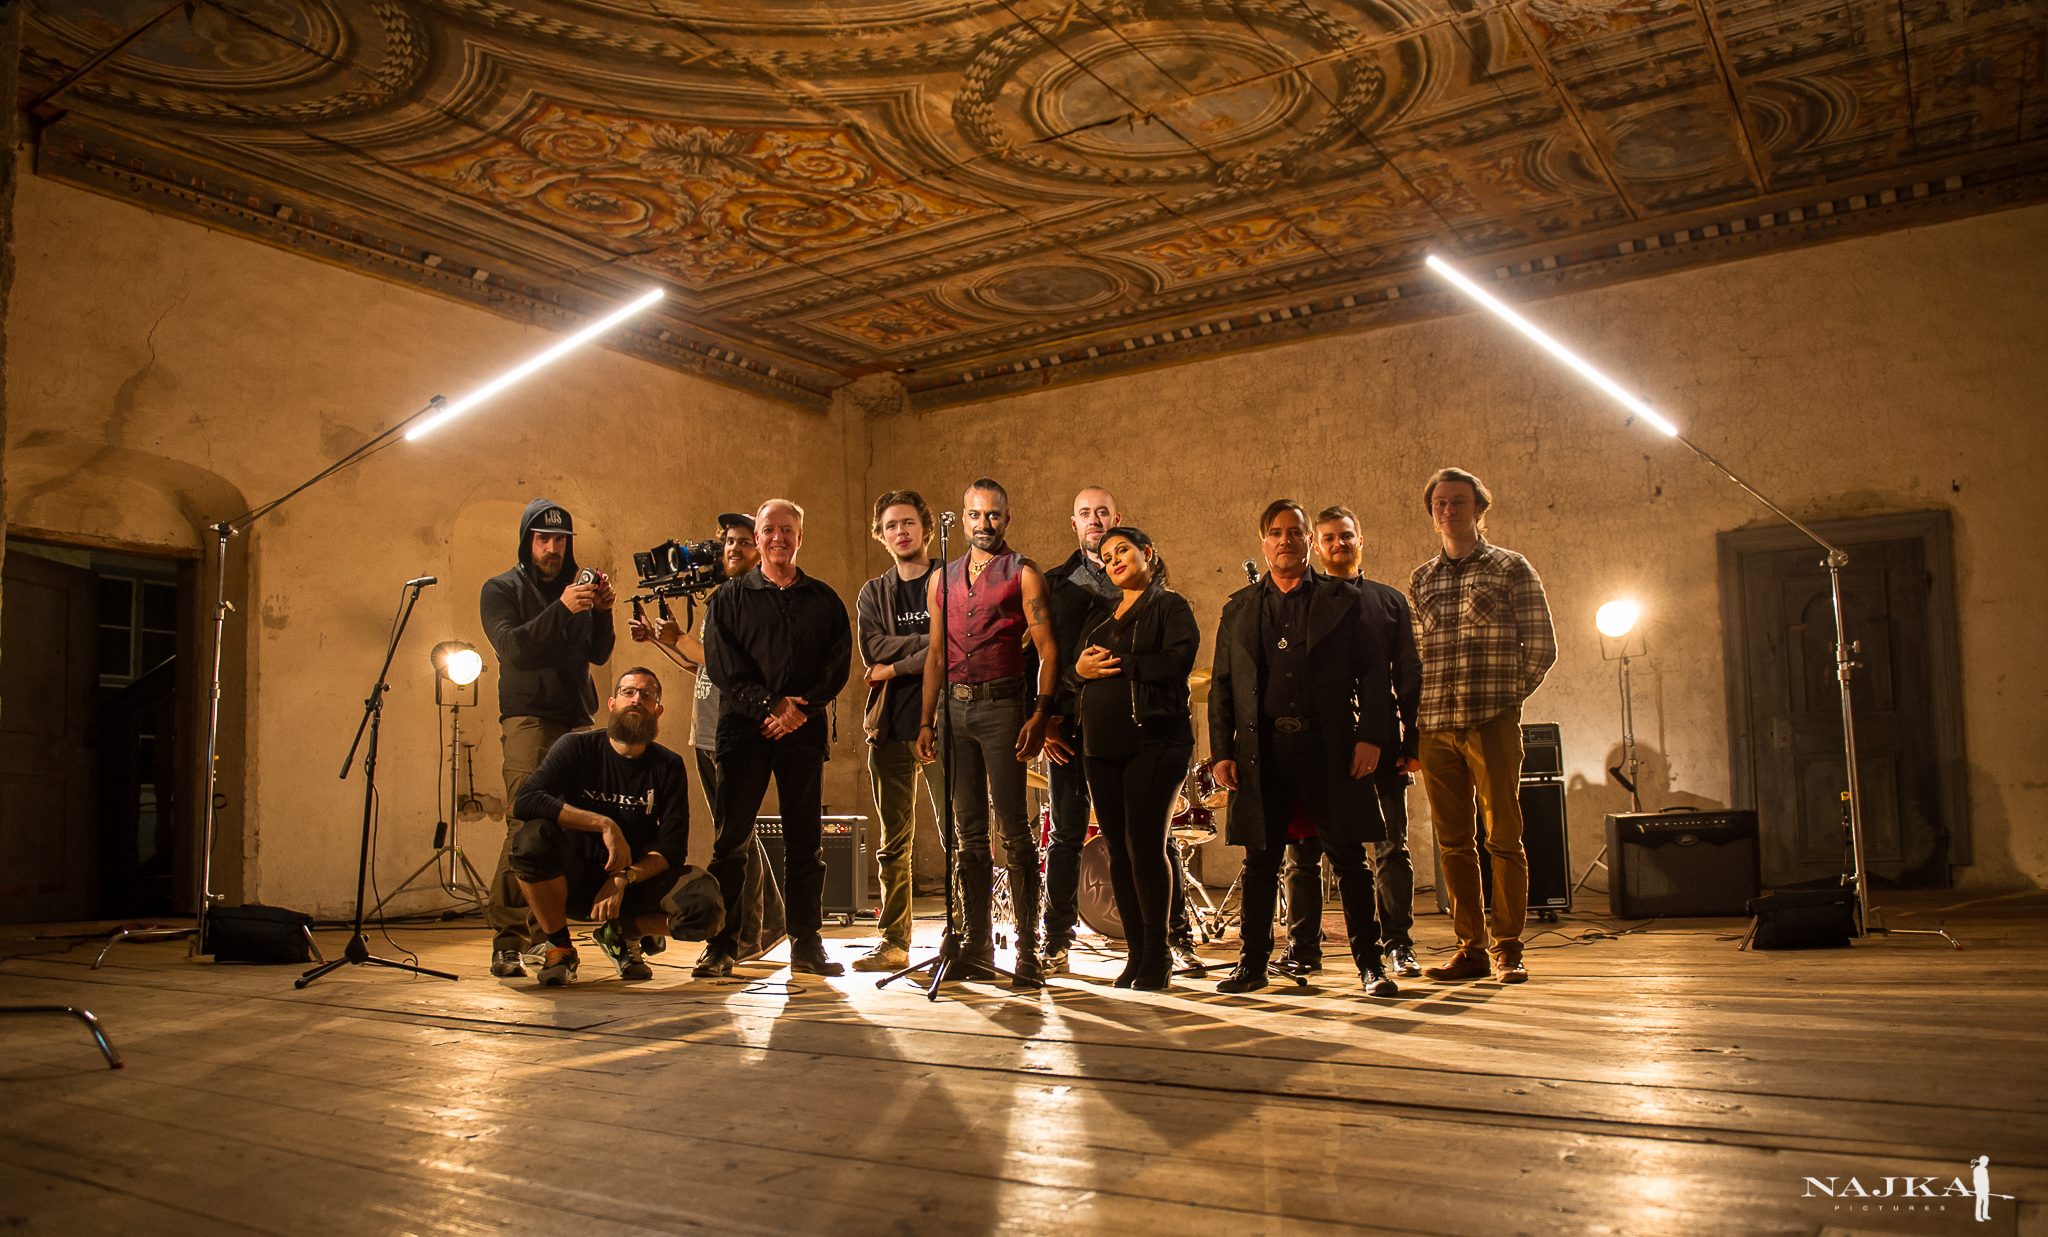
Thank you Najka, the band and all the rest for a fun shoot.
If you have any questions or anything, leave a comment and I’ll answer as soon as I can!
Max
No comments yet
Add a comment